
Chainstays
Early on I decided I wanted to use 142mm dropouts which present a unique set of challenges compared to traditional dropouts. See, 135mm open dropouts allow for a certain margin of error, but a thru axle requires exacting precision. Because the axle passes through one side and threads into the other, improperly aligned dropouts can make a frame downright unusable.
If you’re wondering why I’m building the back half of a steel mountain bike frame, check out my previous post on front triangle construction.
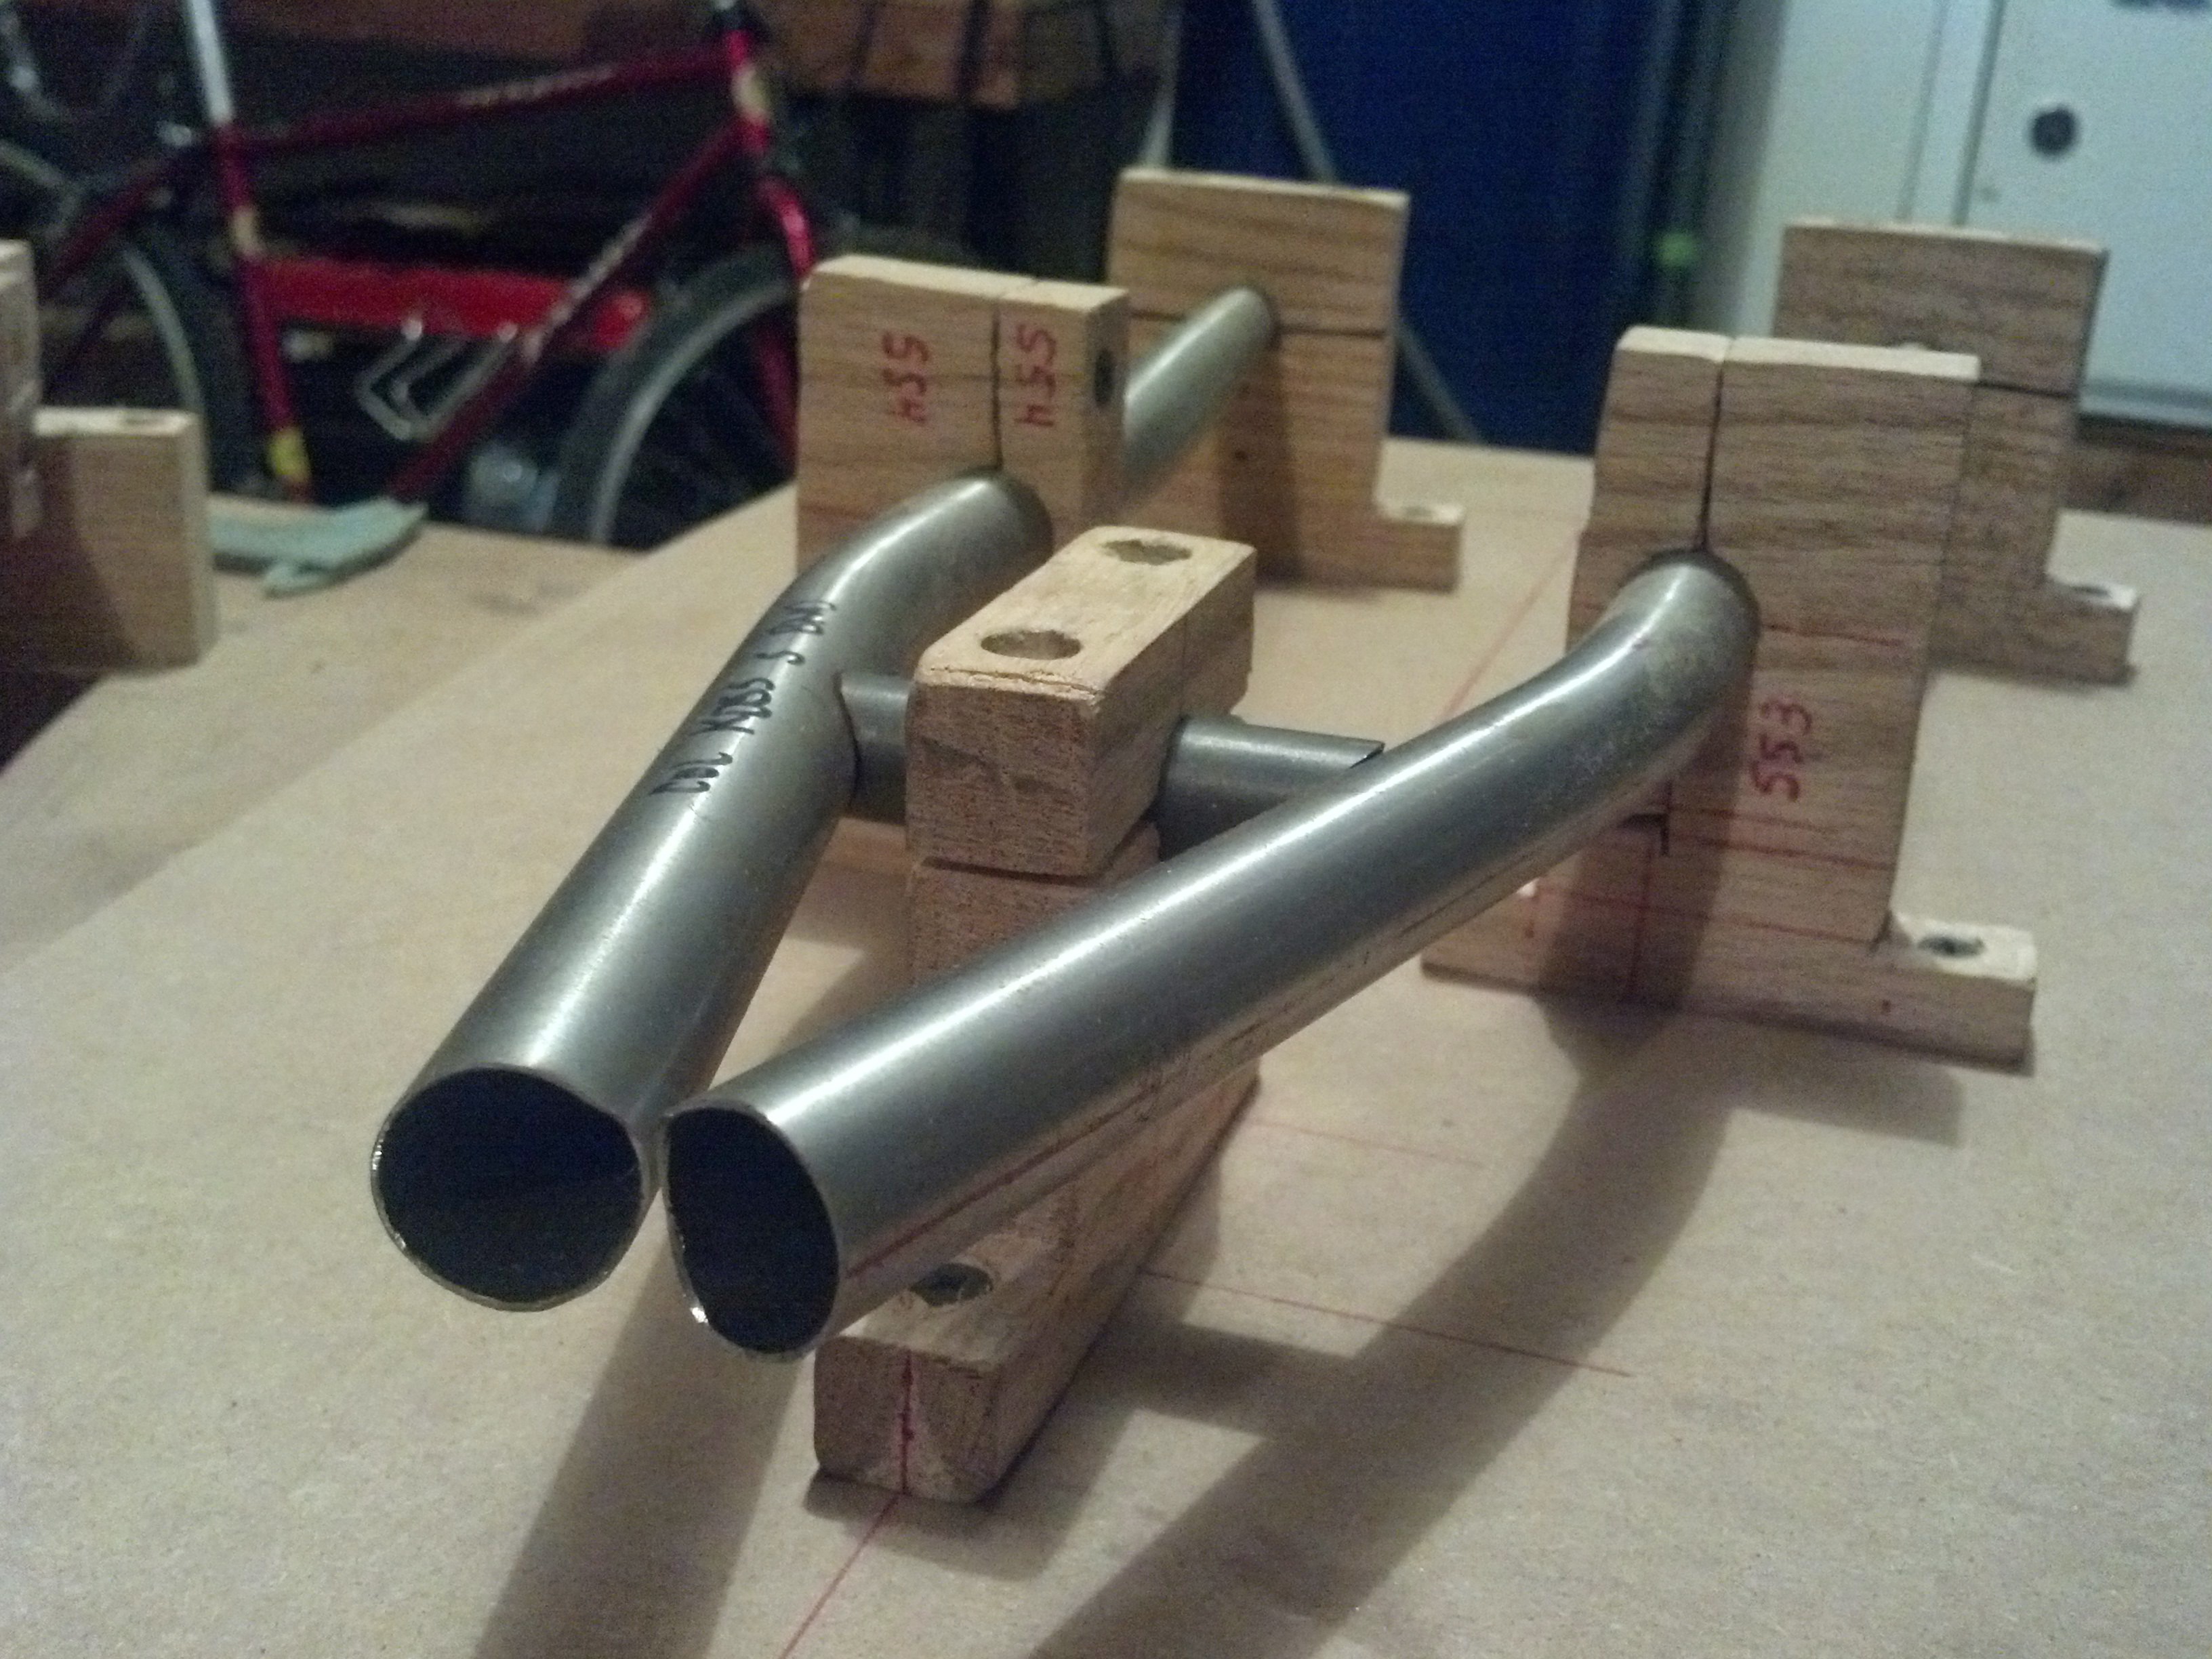
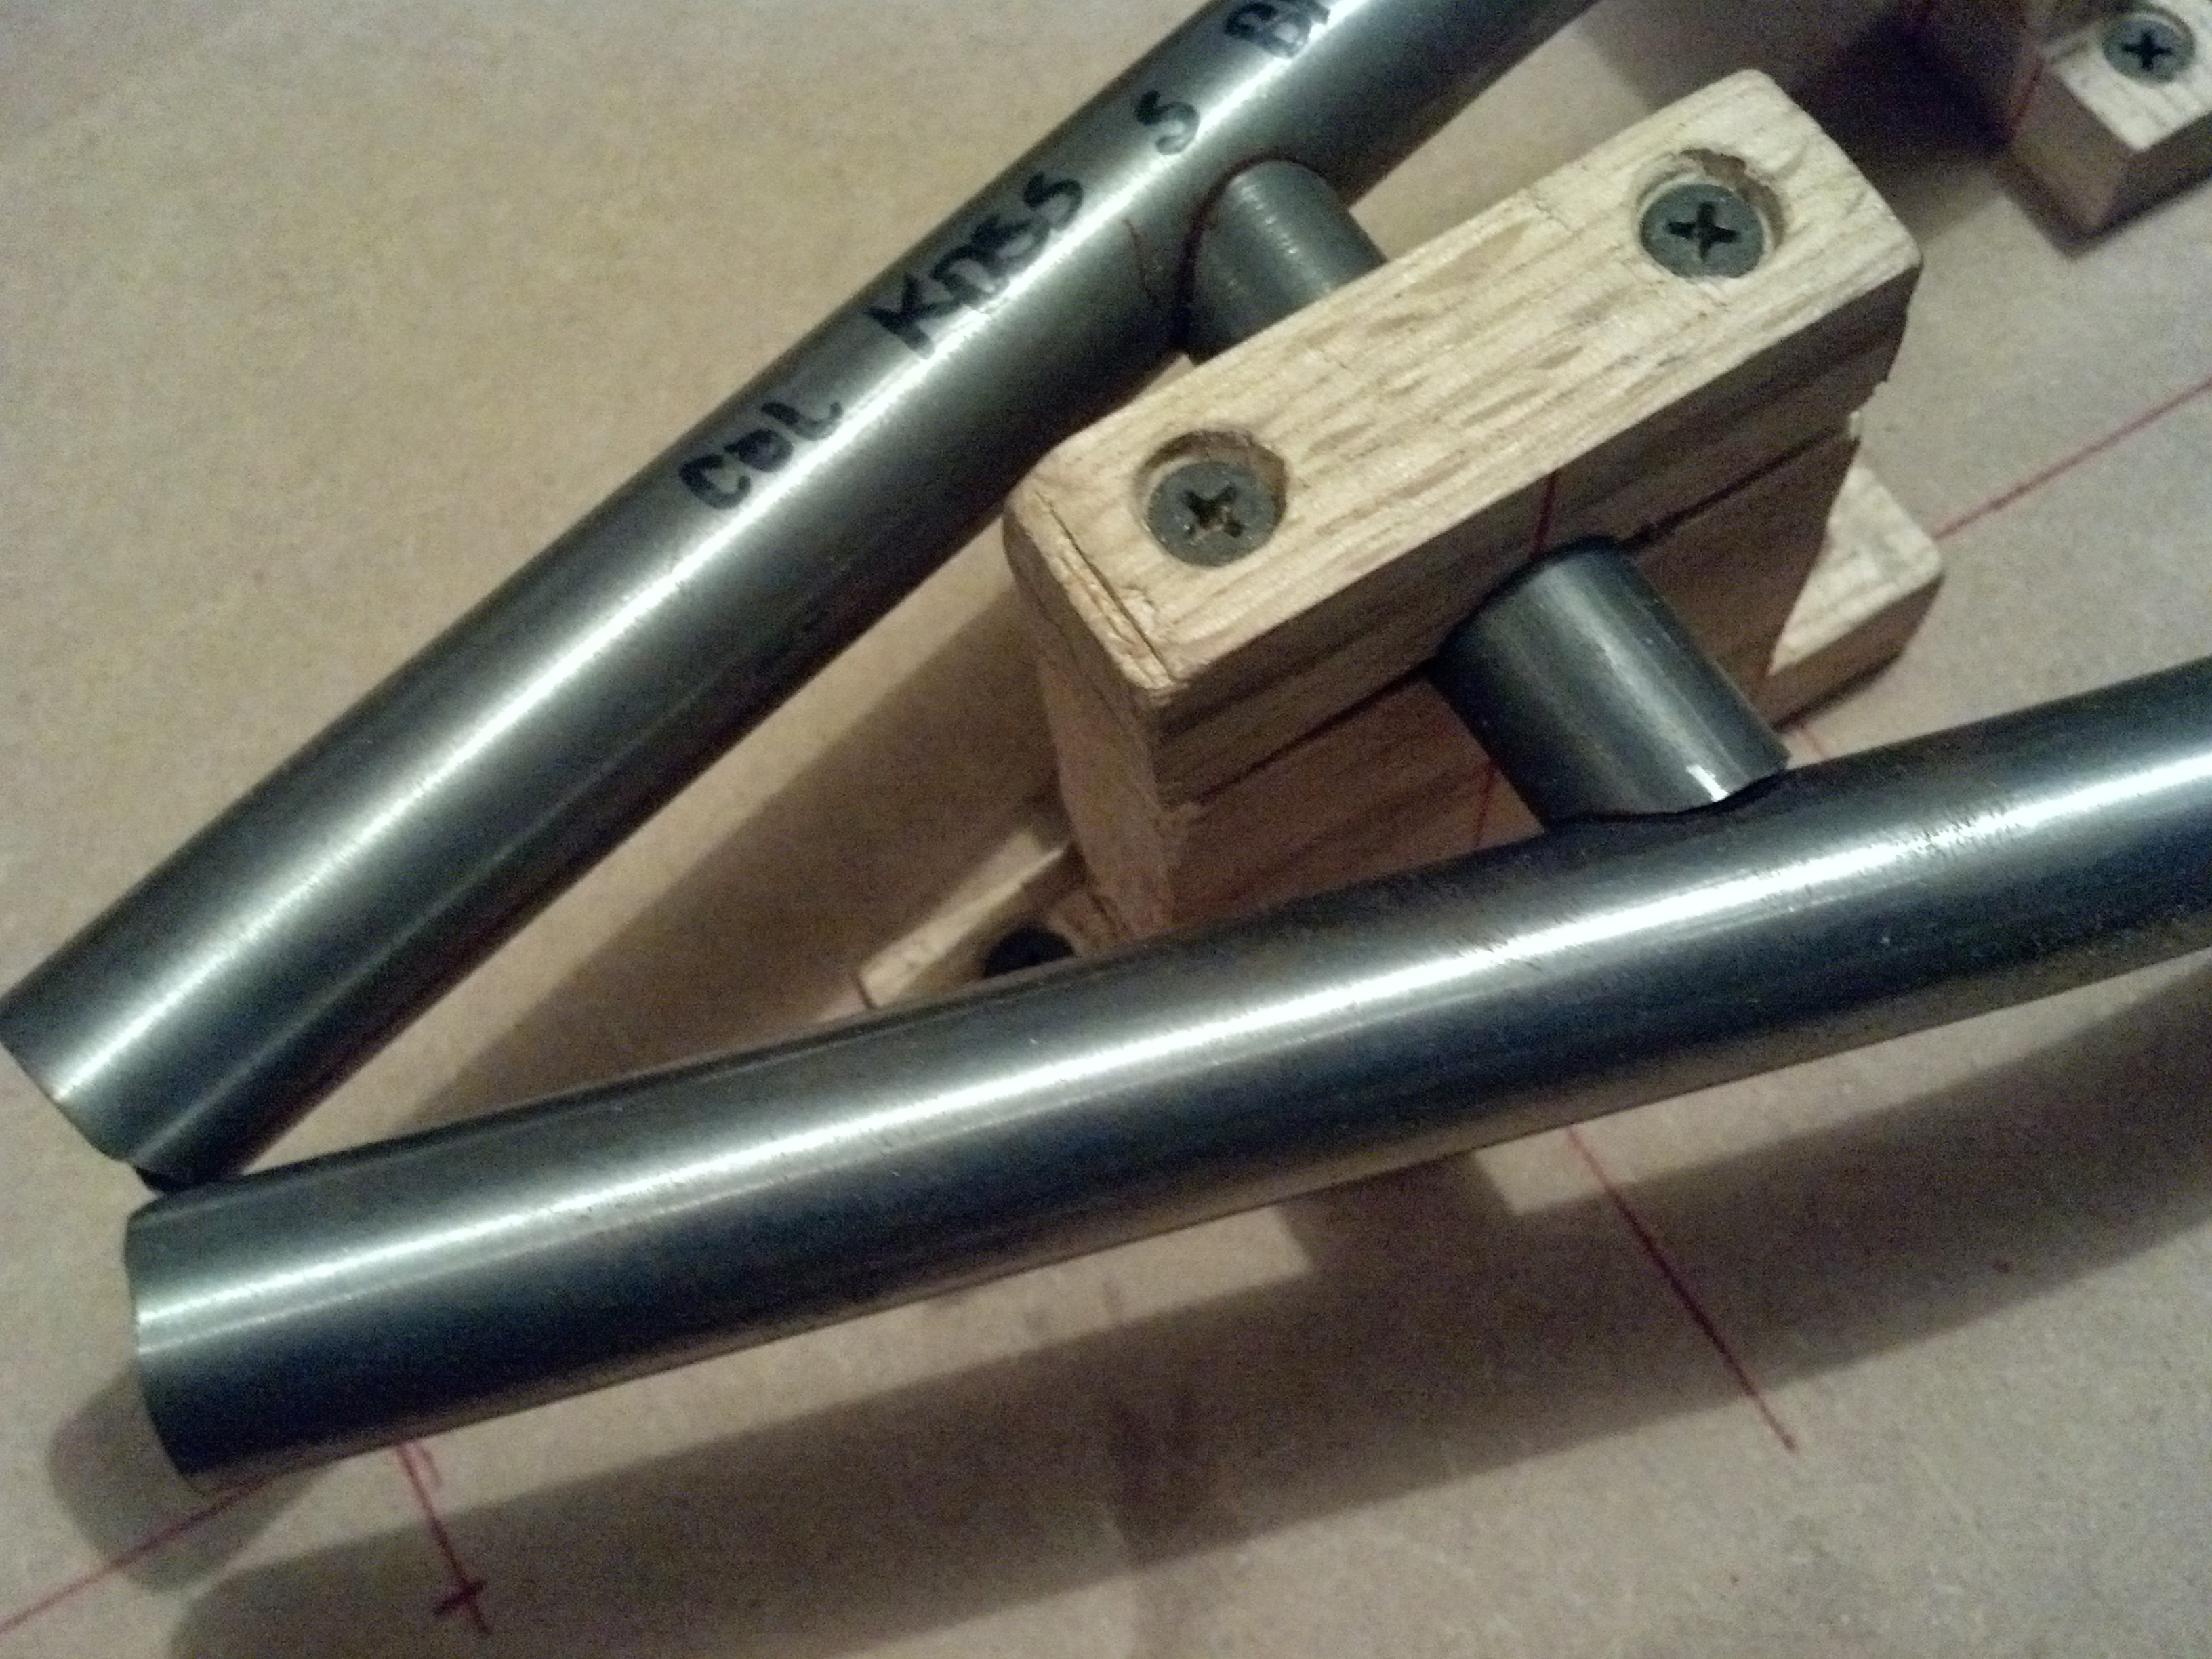
My solution was to use a dummy axle. A quick scan of the QBP catalog revealed a 142mm axle conversion kit for American Classic hubs that would do exactly what I needed. While many axles are stepped, this axle has a consistent outer diameter which means I can make tube blocks to hold onto it and install the Shimano AX-75 QR to clamp the dropouts in place. The dummy axle ensures that the alignment will be right and all I need to do is make sure the dropouts are clocked correctly and the axle sits square on both the horizontal and vertical planes.
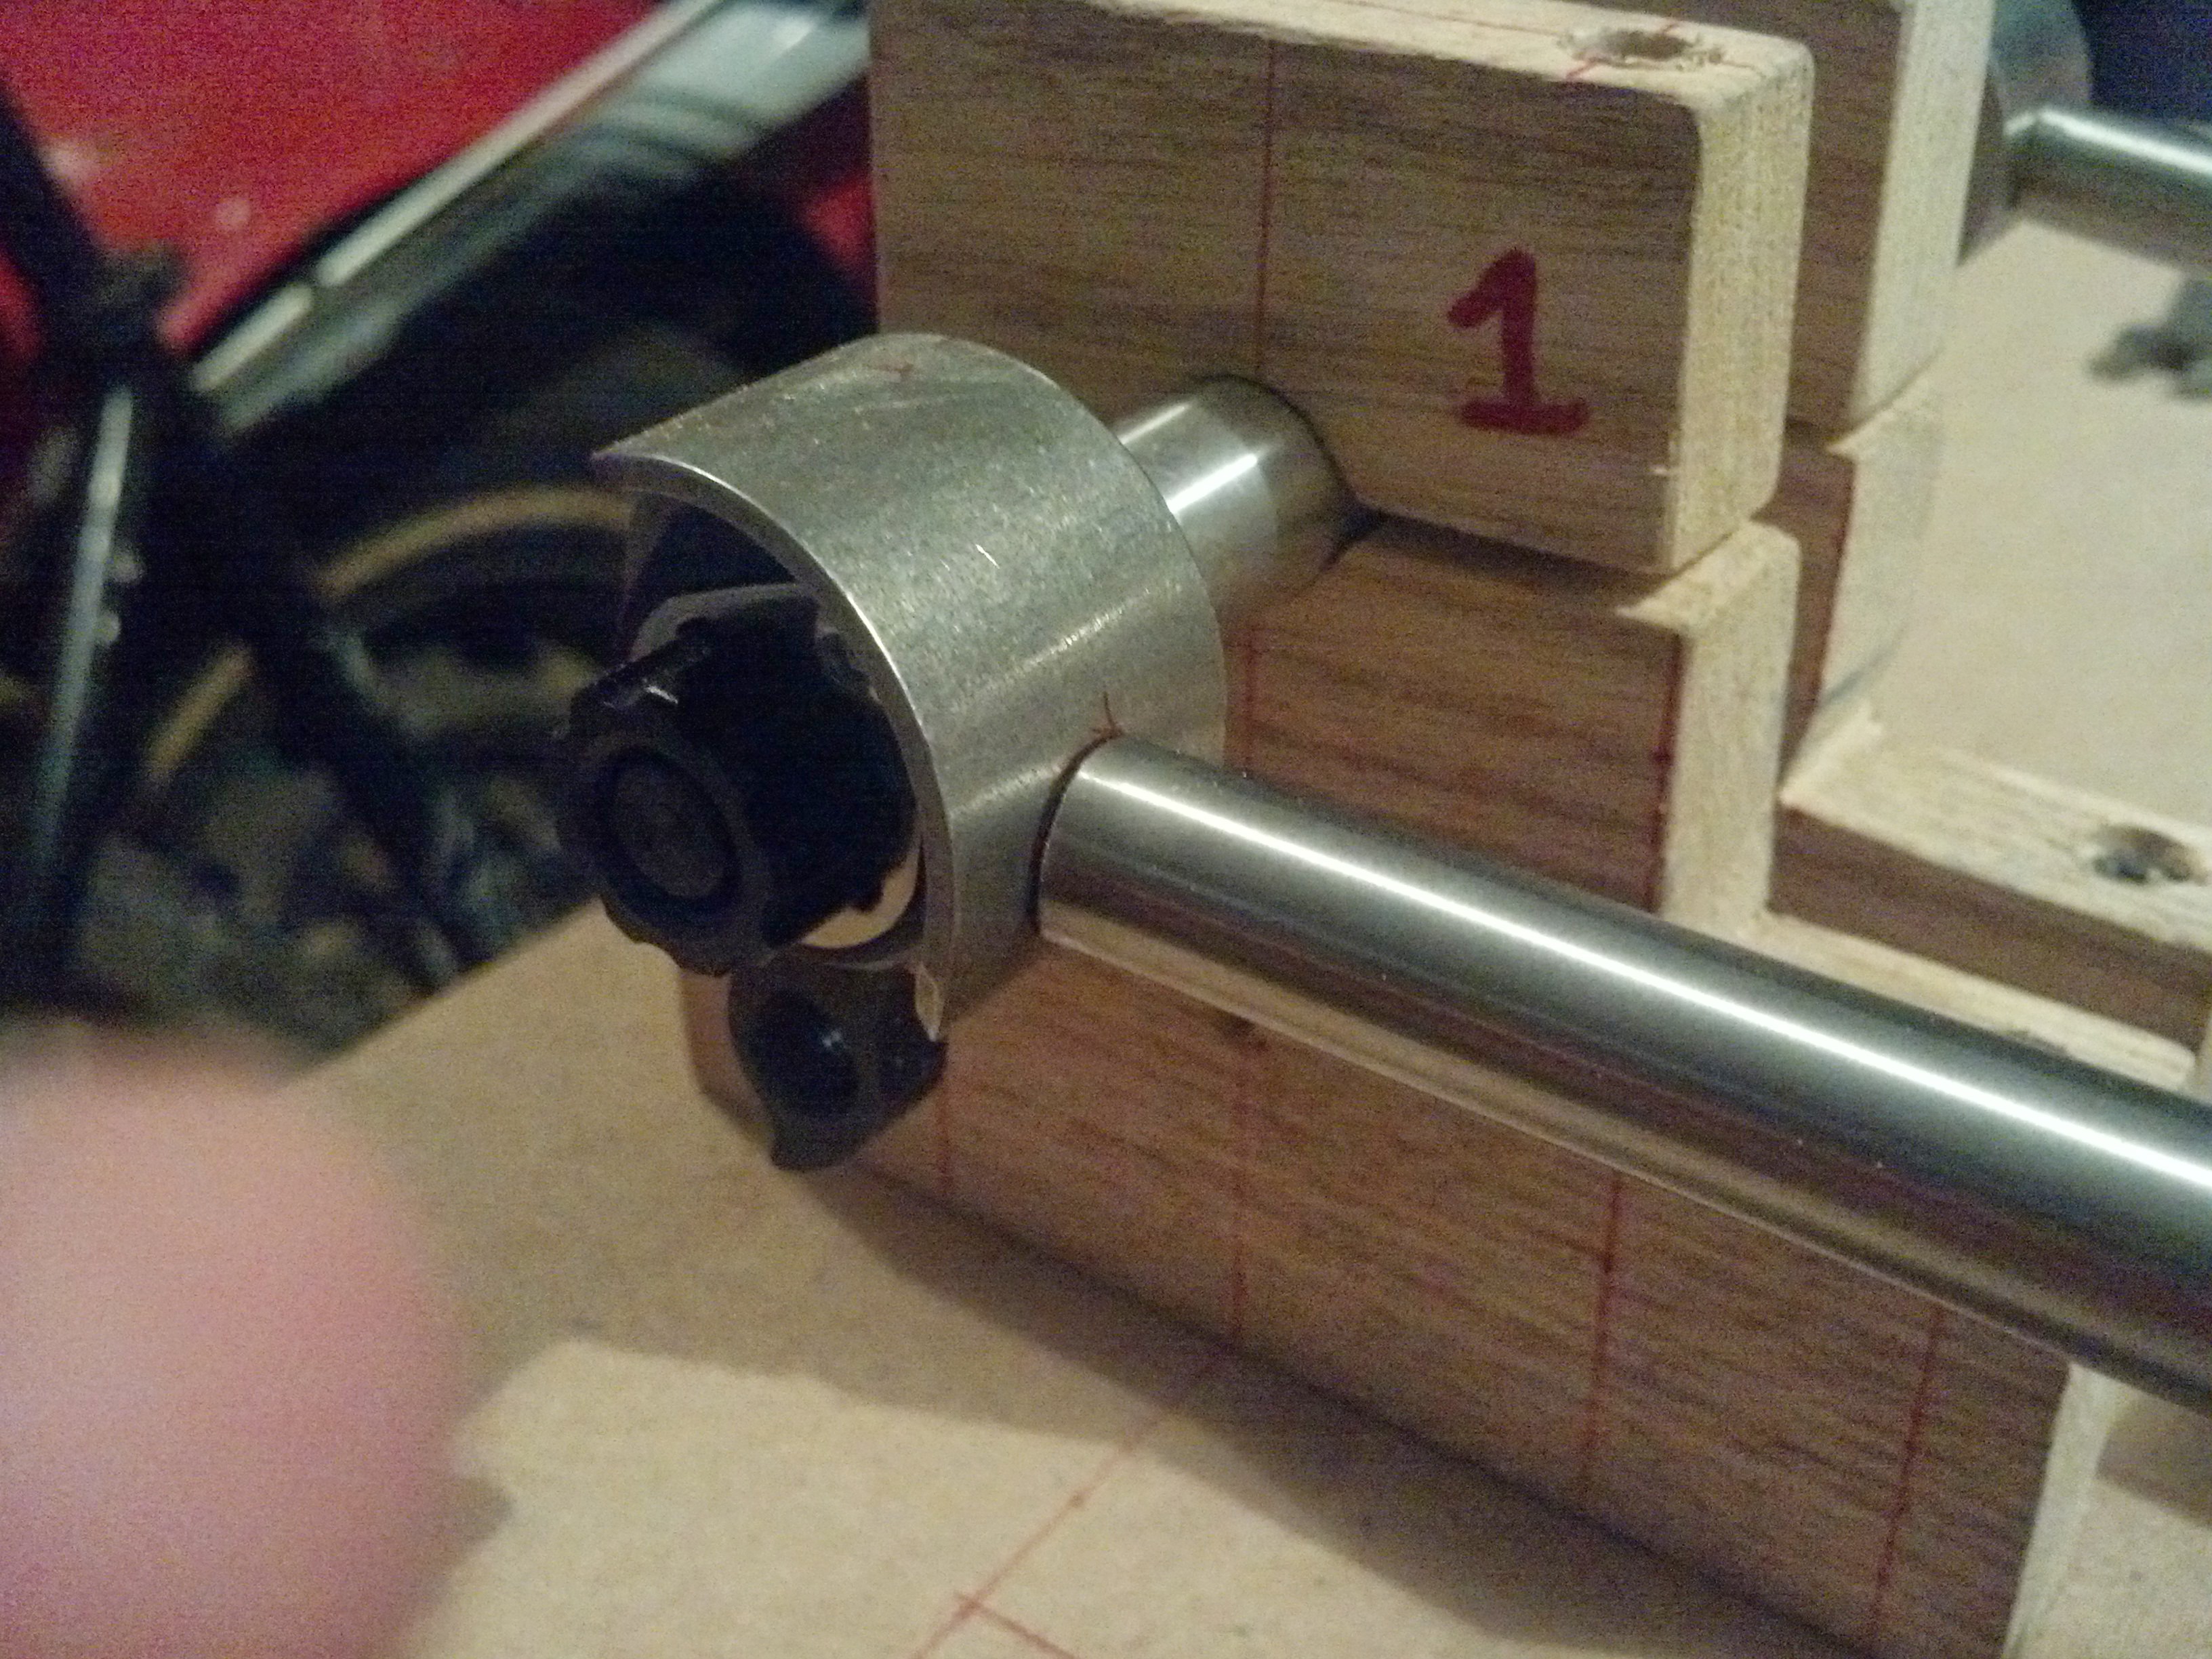
Ignore the errant thumb. 🙂
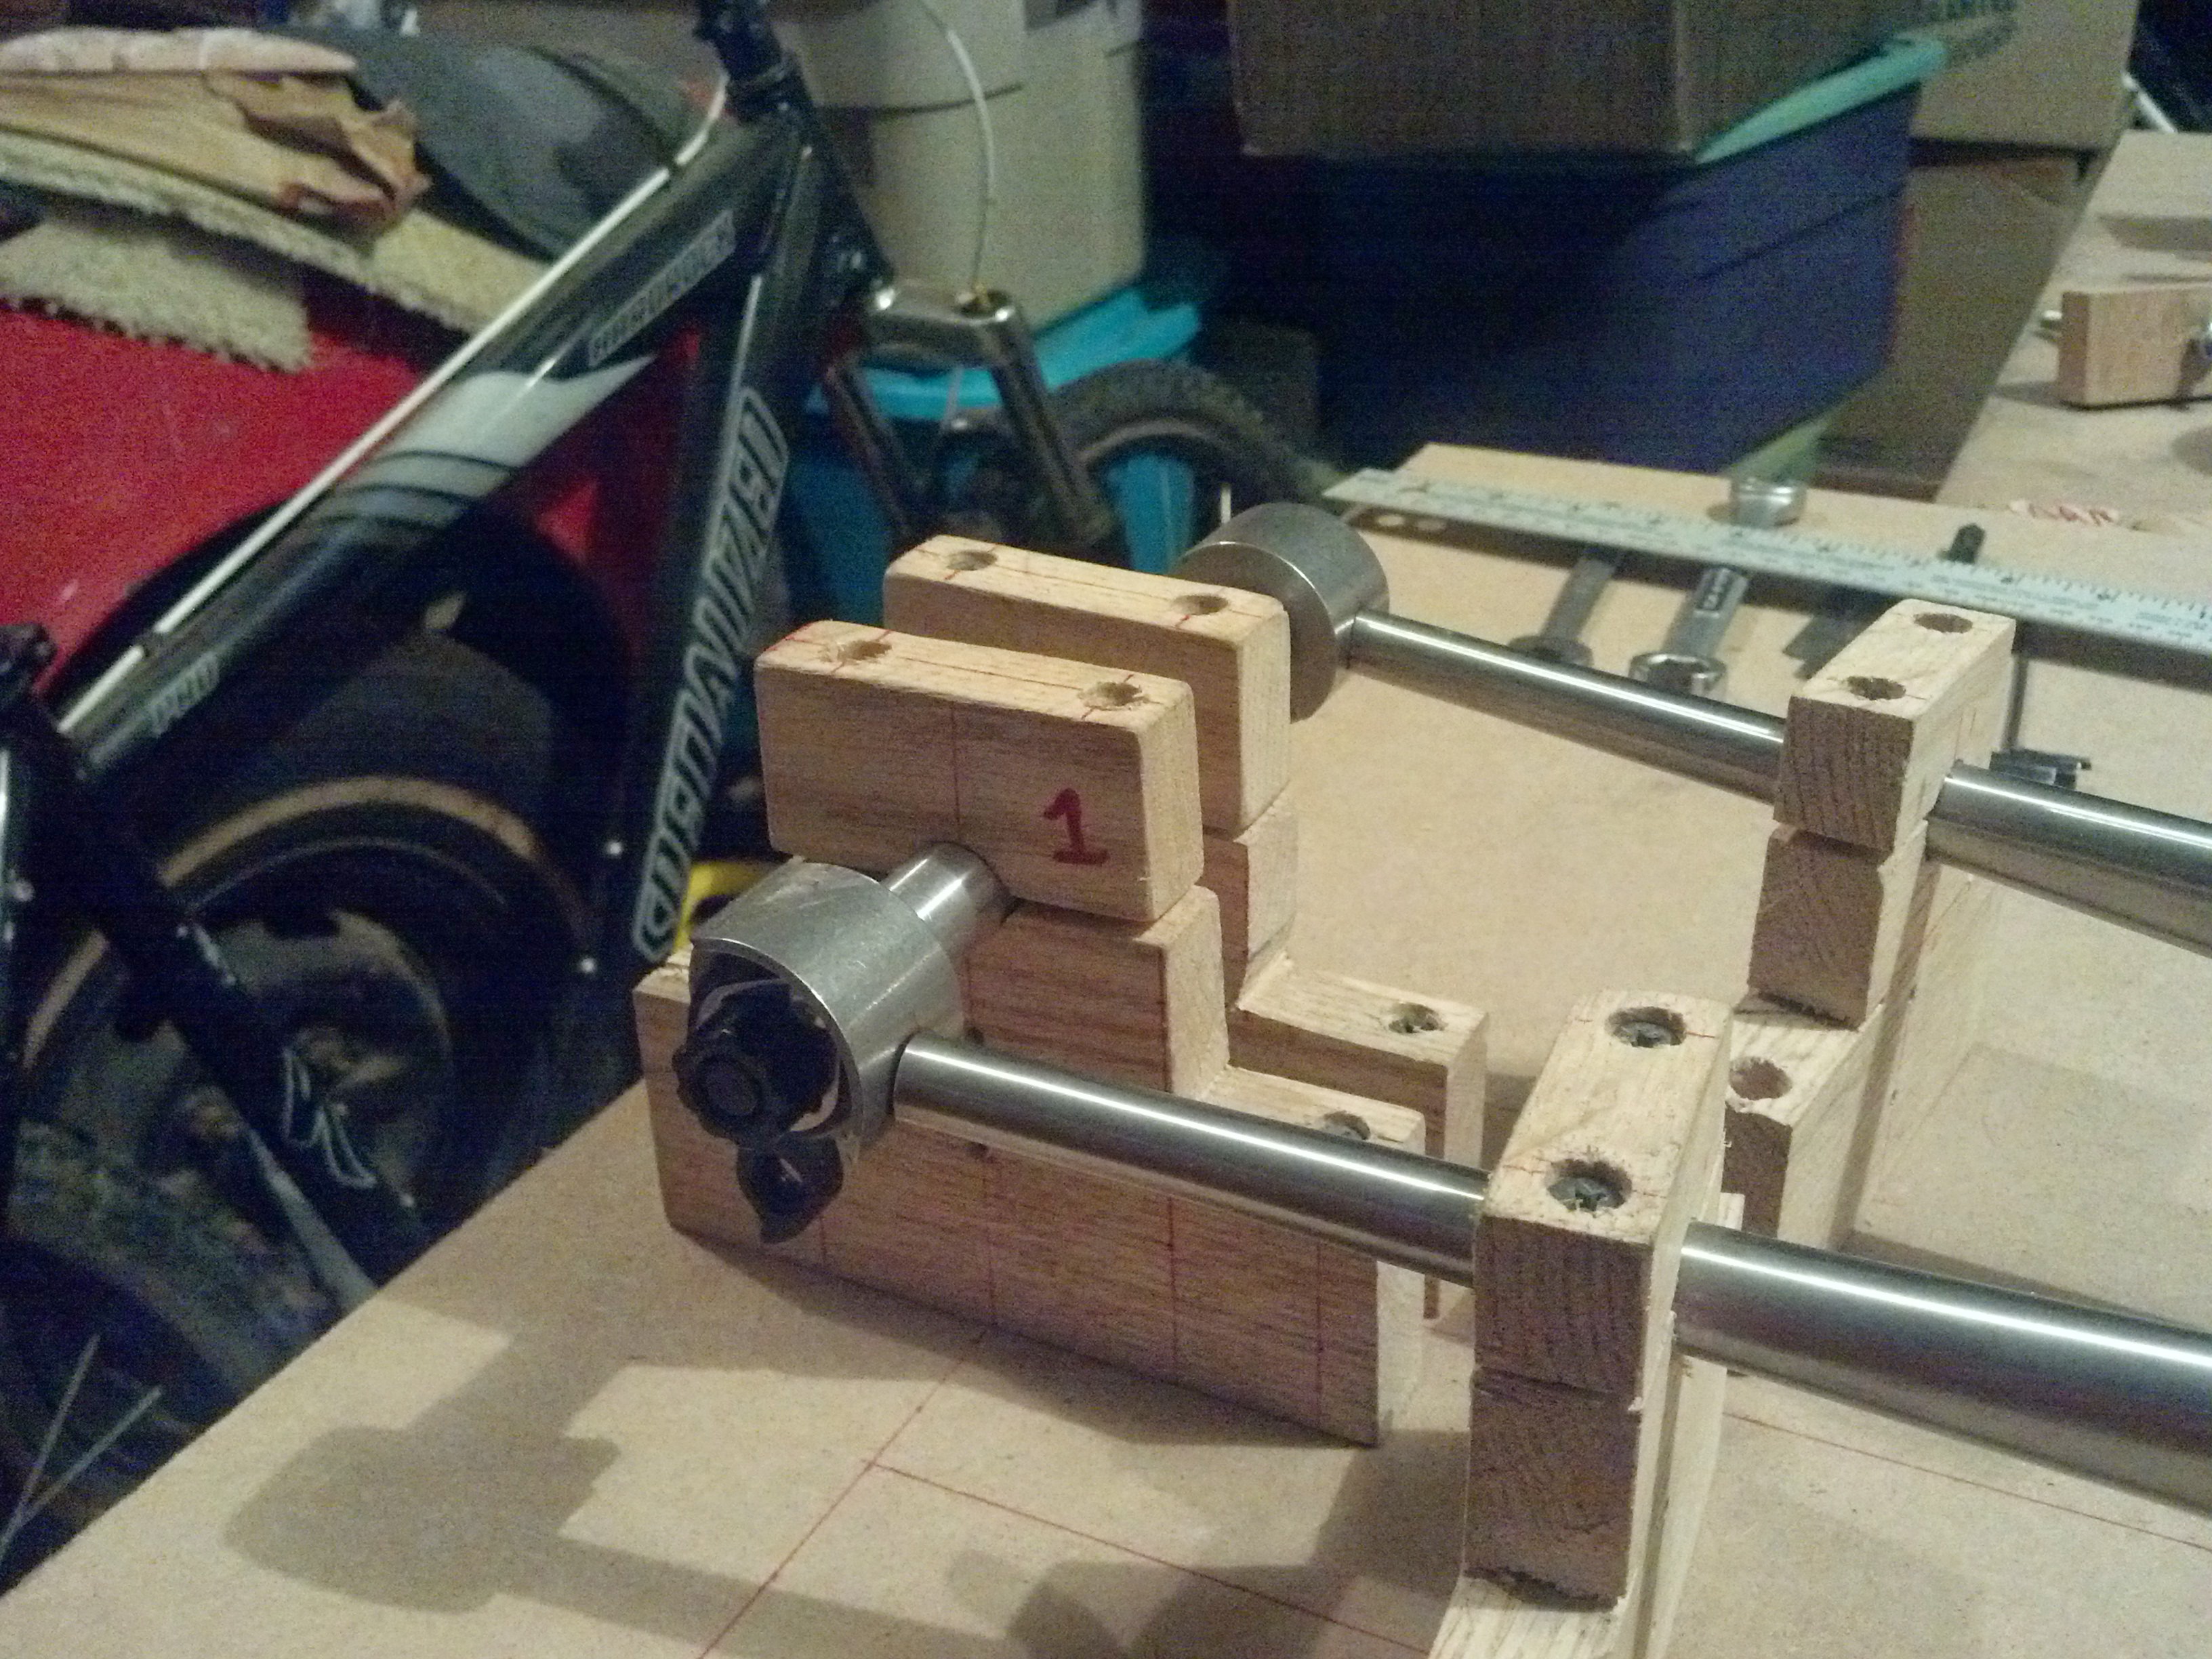
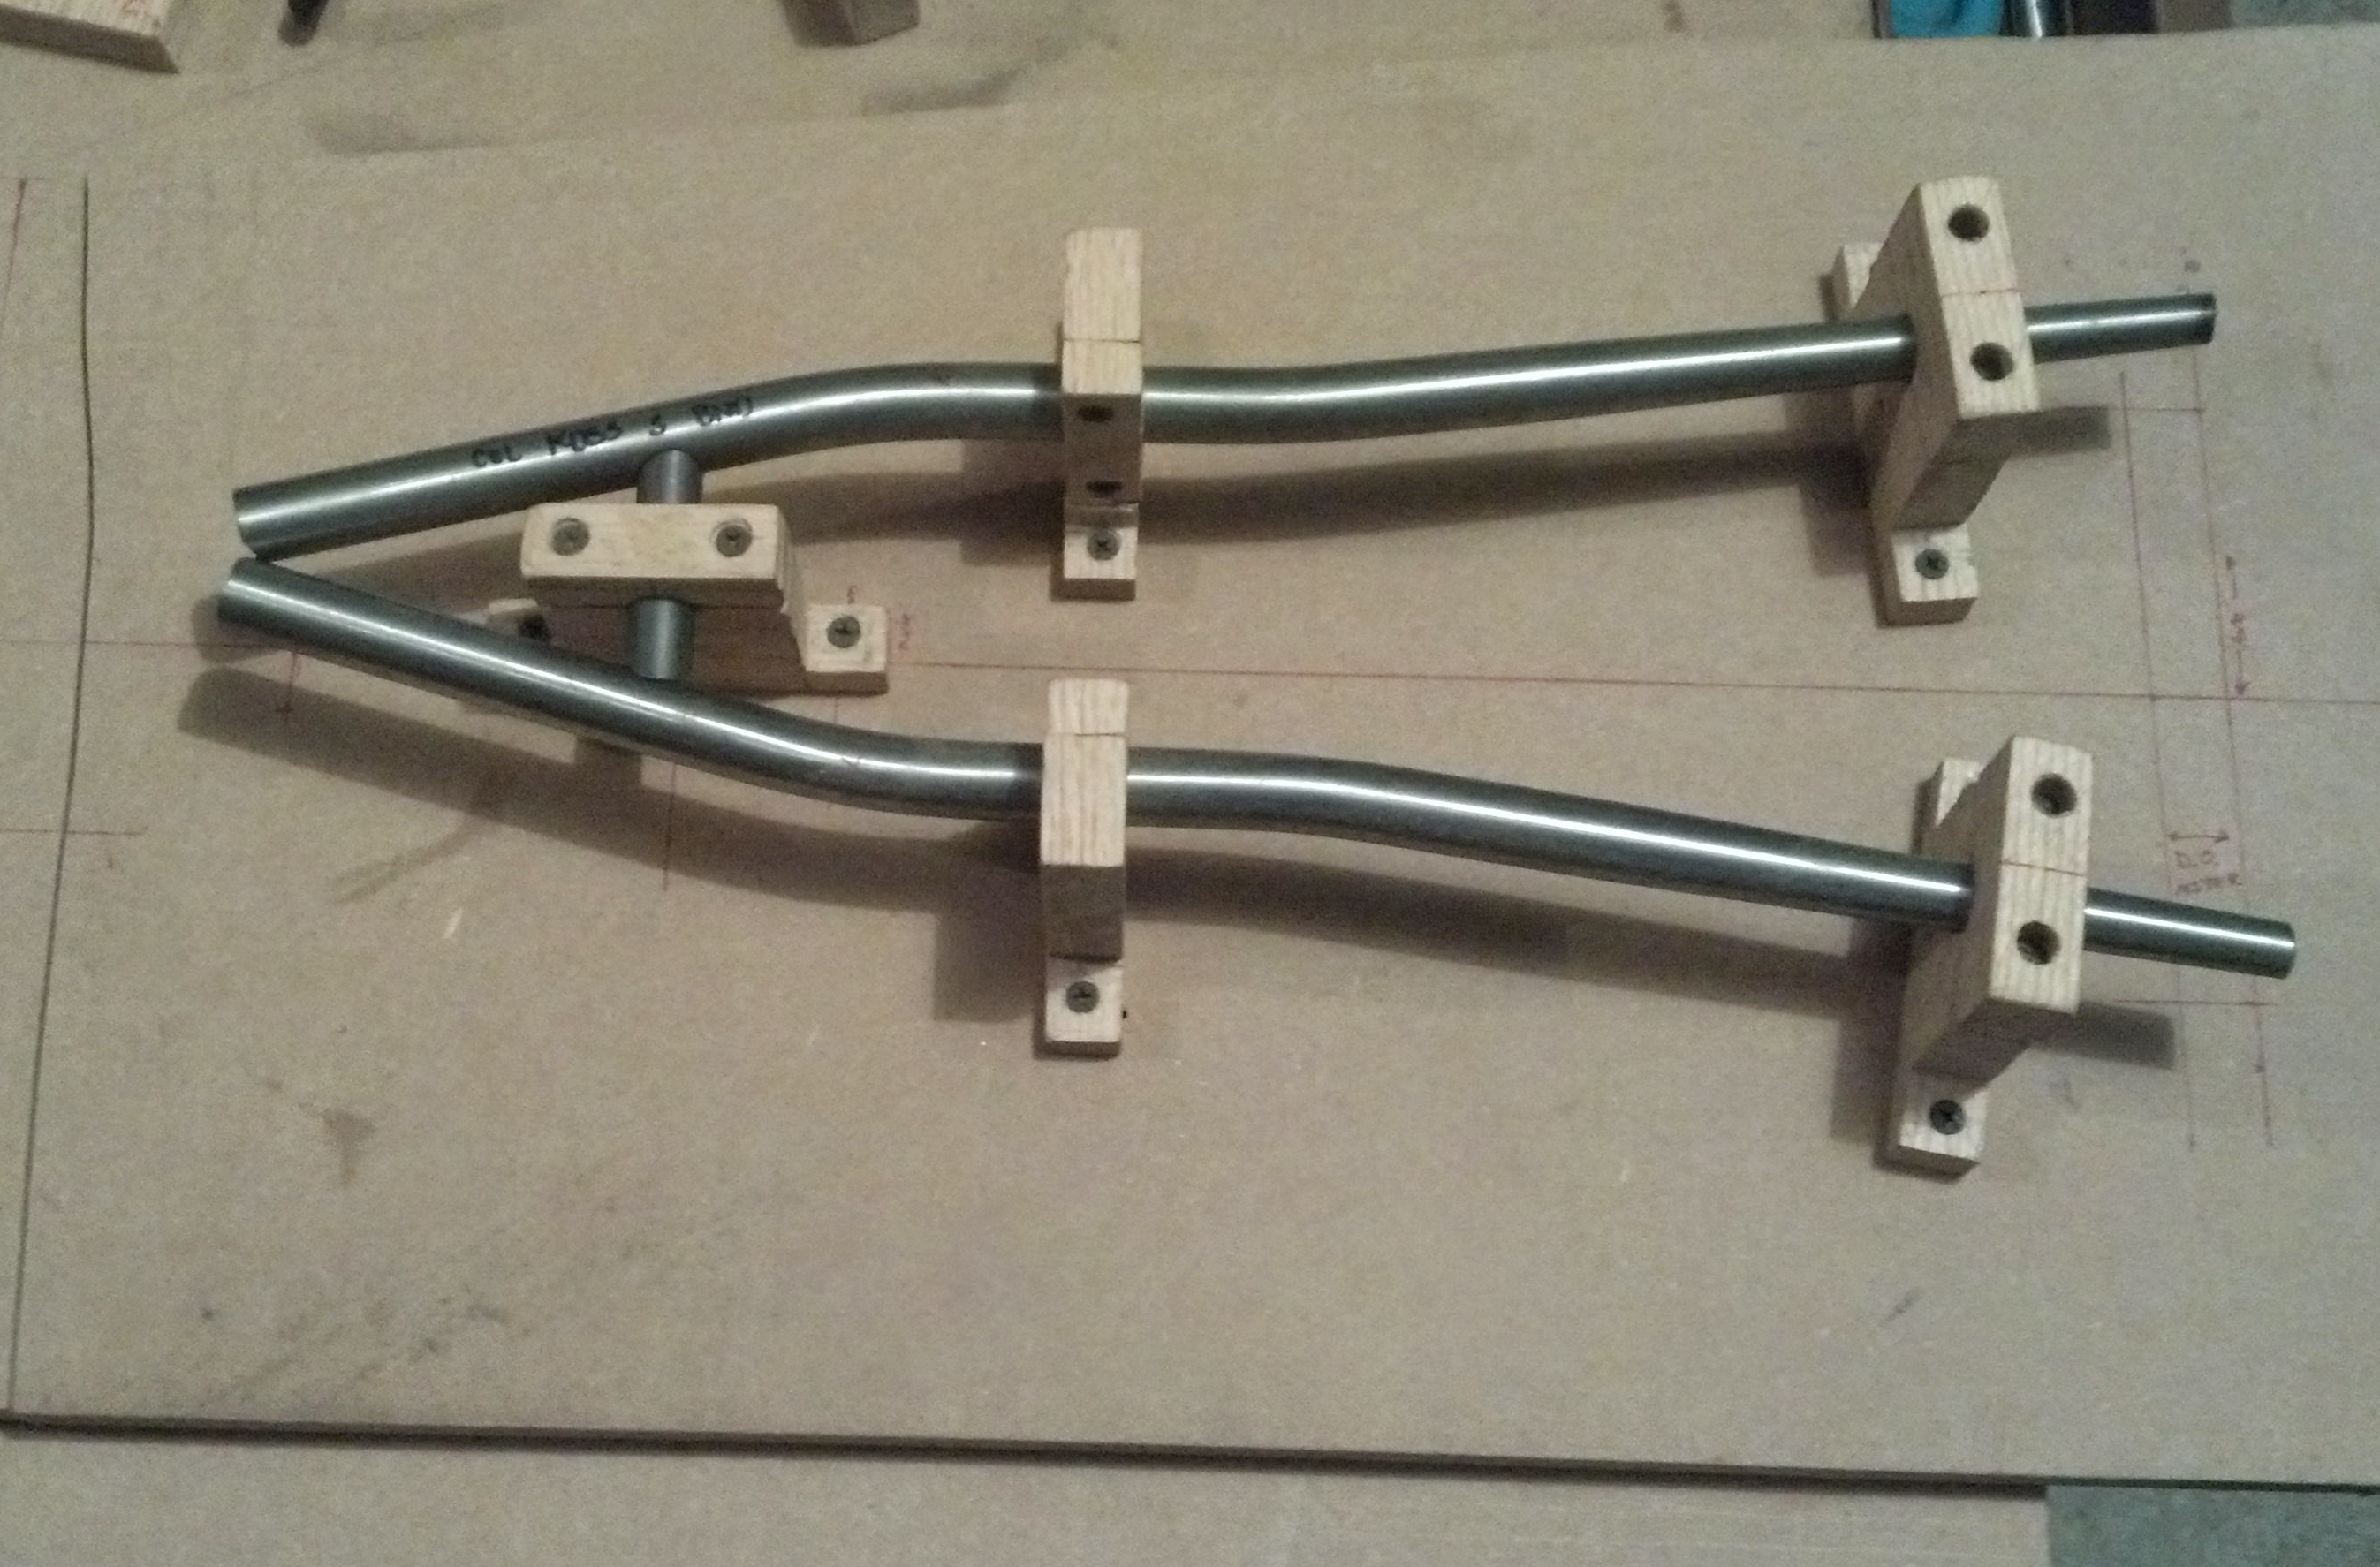
In order to assemble the chainstays as accurately as possible, I elected to build a jig that mimics the final positioning in the finished frame. By that I mean the chainstays angle downward from the axle to the bottom bracket with the 32mm of bottom bracket drop that my design calls for. I cut more tube blocks for the chainstays and one for the chainstay brace. I also purchased a second bottom bracket so I could miter the chainstay-BB intersection without pilfering the BB shell from the completed front triangle.

After talking with my welder Paul, we decided that the best course of action is to weld the chainstays and seatstays as separate assemblies and then fit them to the front triangle once it’s fully completed. The chainstays will be welded at the rear dropouts and at the chainstay brace, connecting the five members. That means jigging the seat stays too, which are a little simpler and the three members will be connected solely by the seatstay brace.
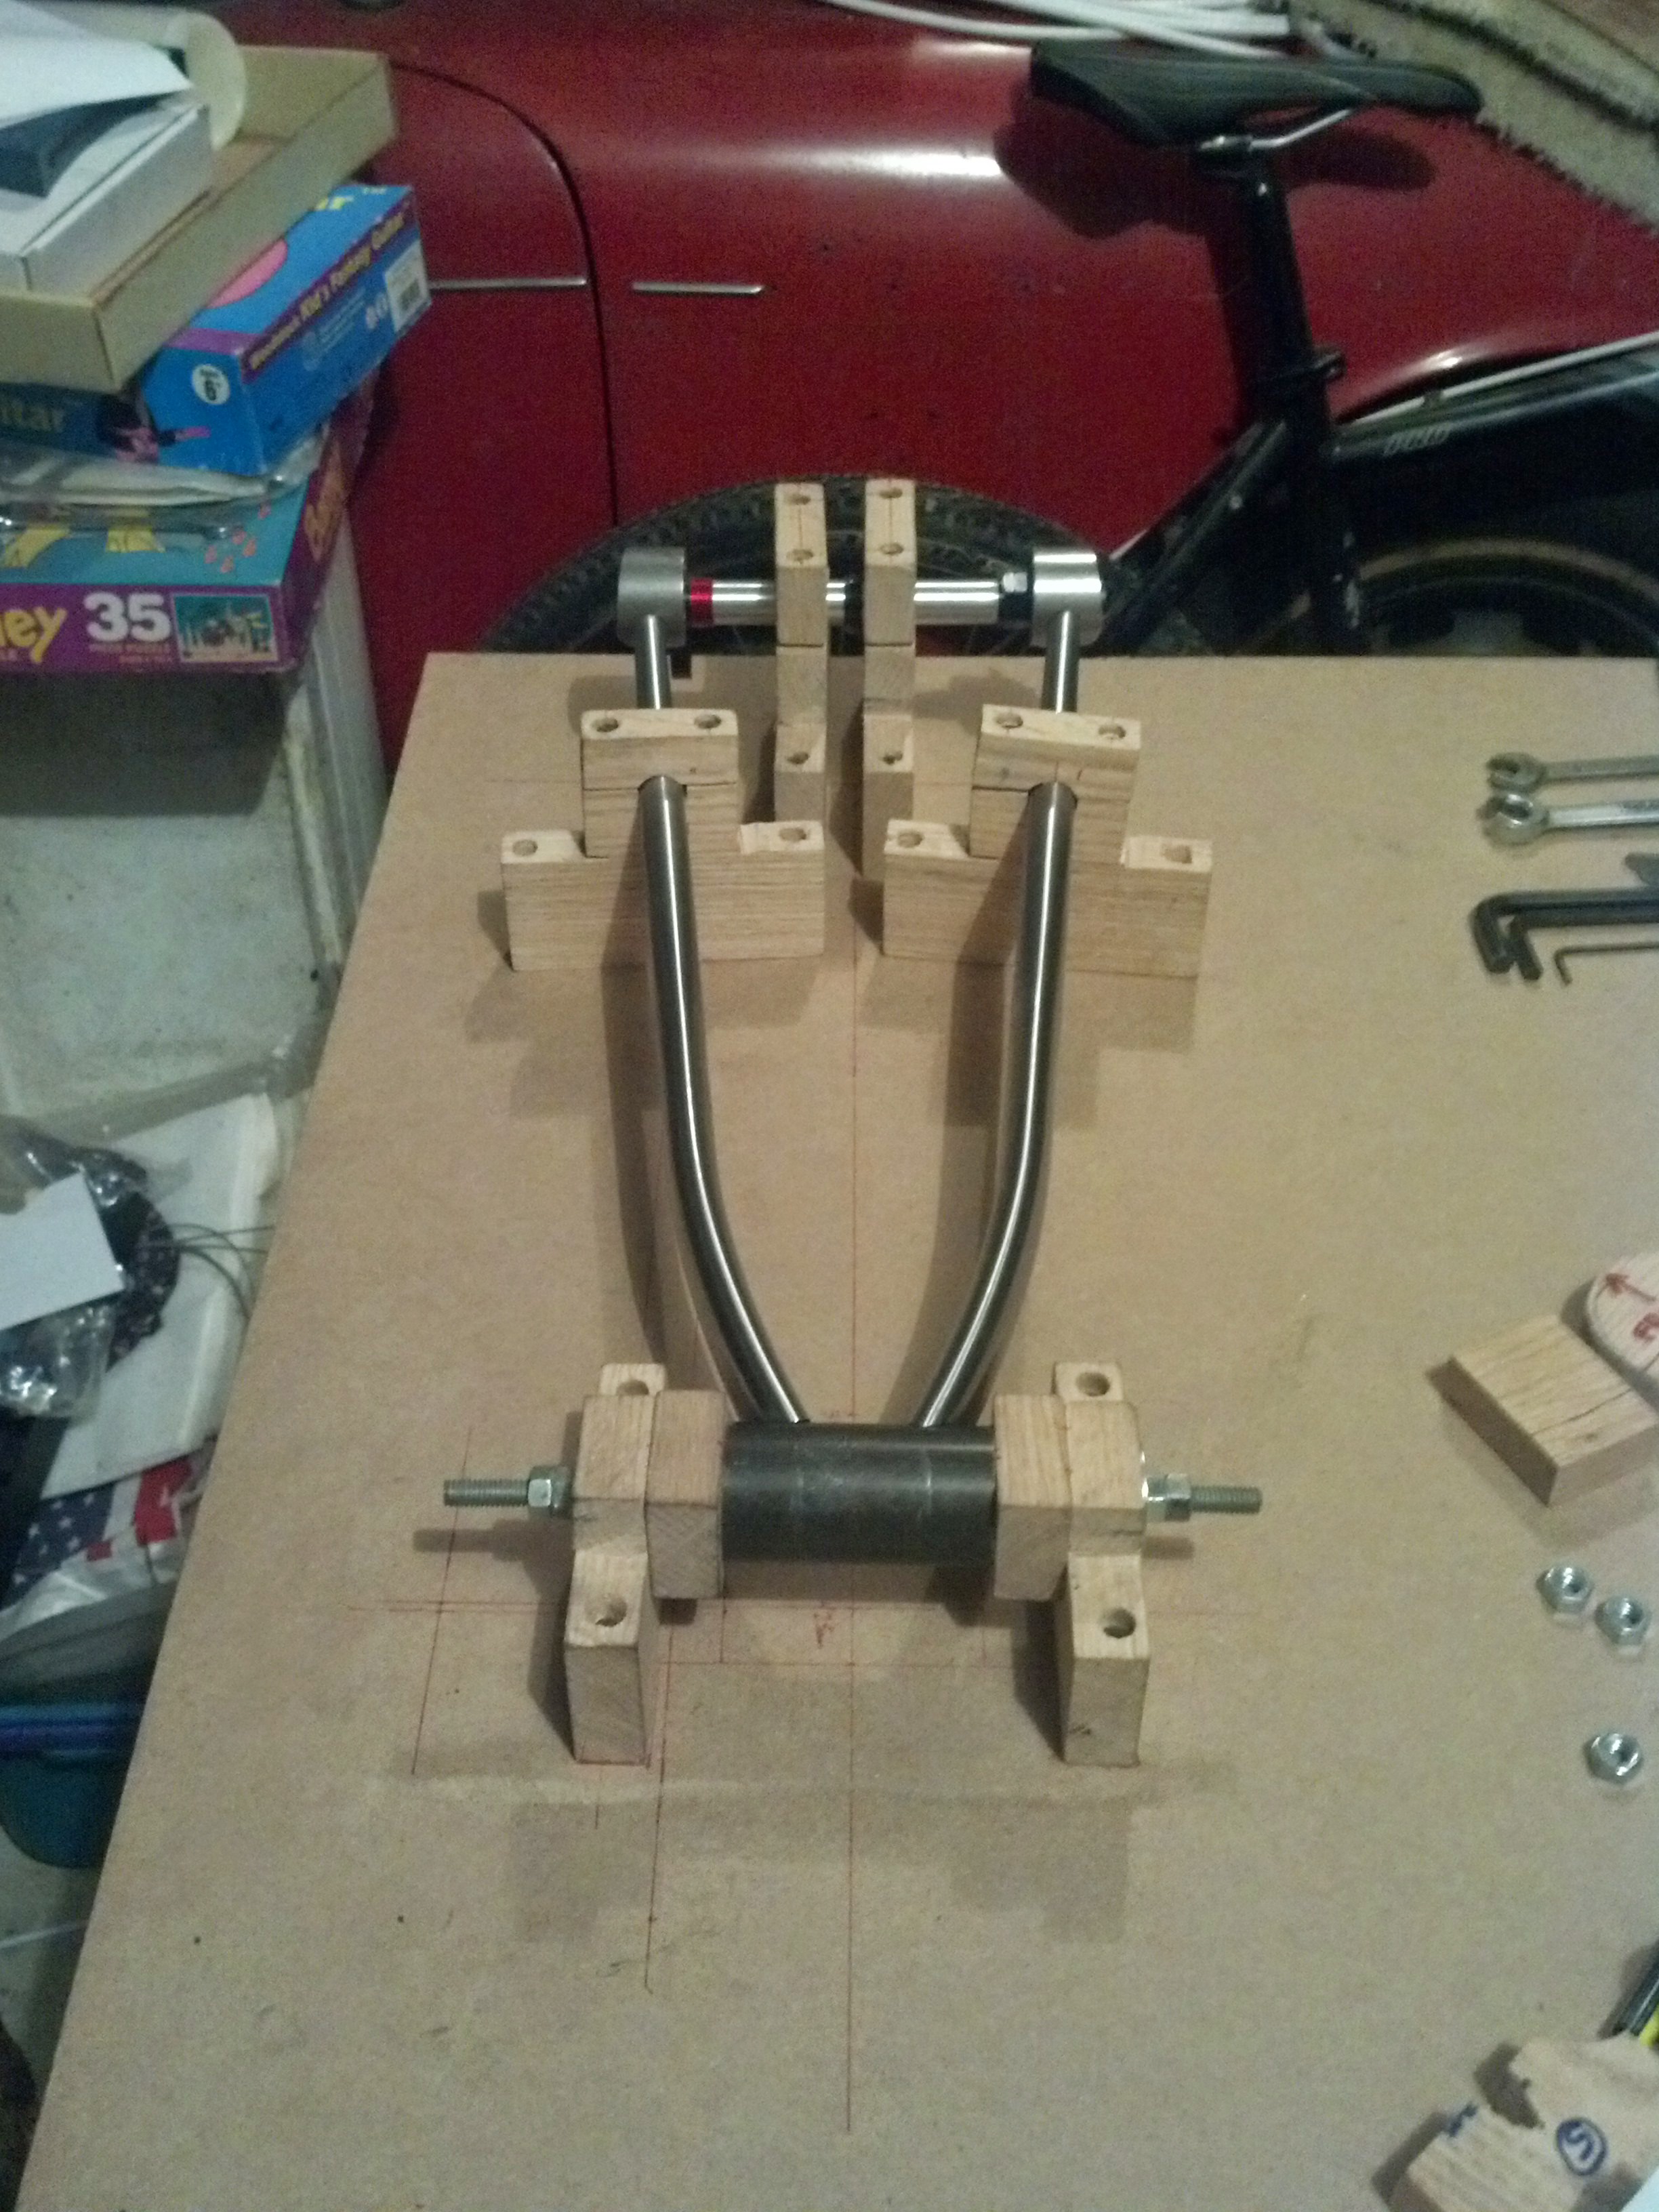

The chainstays, by the way, are ovalized 30mm x 16mm tubes with a single 12 degree bend that taper down to 1/2″ at the dropout end. Speaking of those braces, I’m using 5/8″ diameter, .035″ thick 4130 from Aircraft Spruce. Because I’ve never liked holes in the braces themselves, I’ve decided to vent them into the chainstays and seatstays for a cleaner look and one less entry point for moisture.
Seatstays
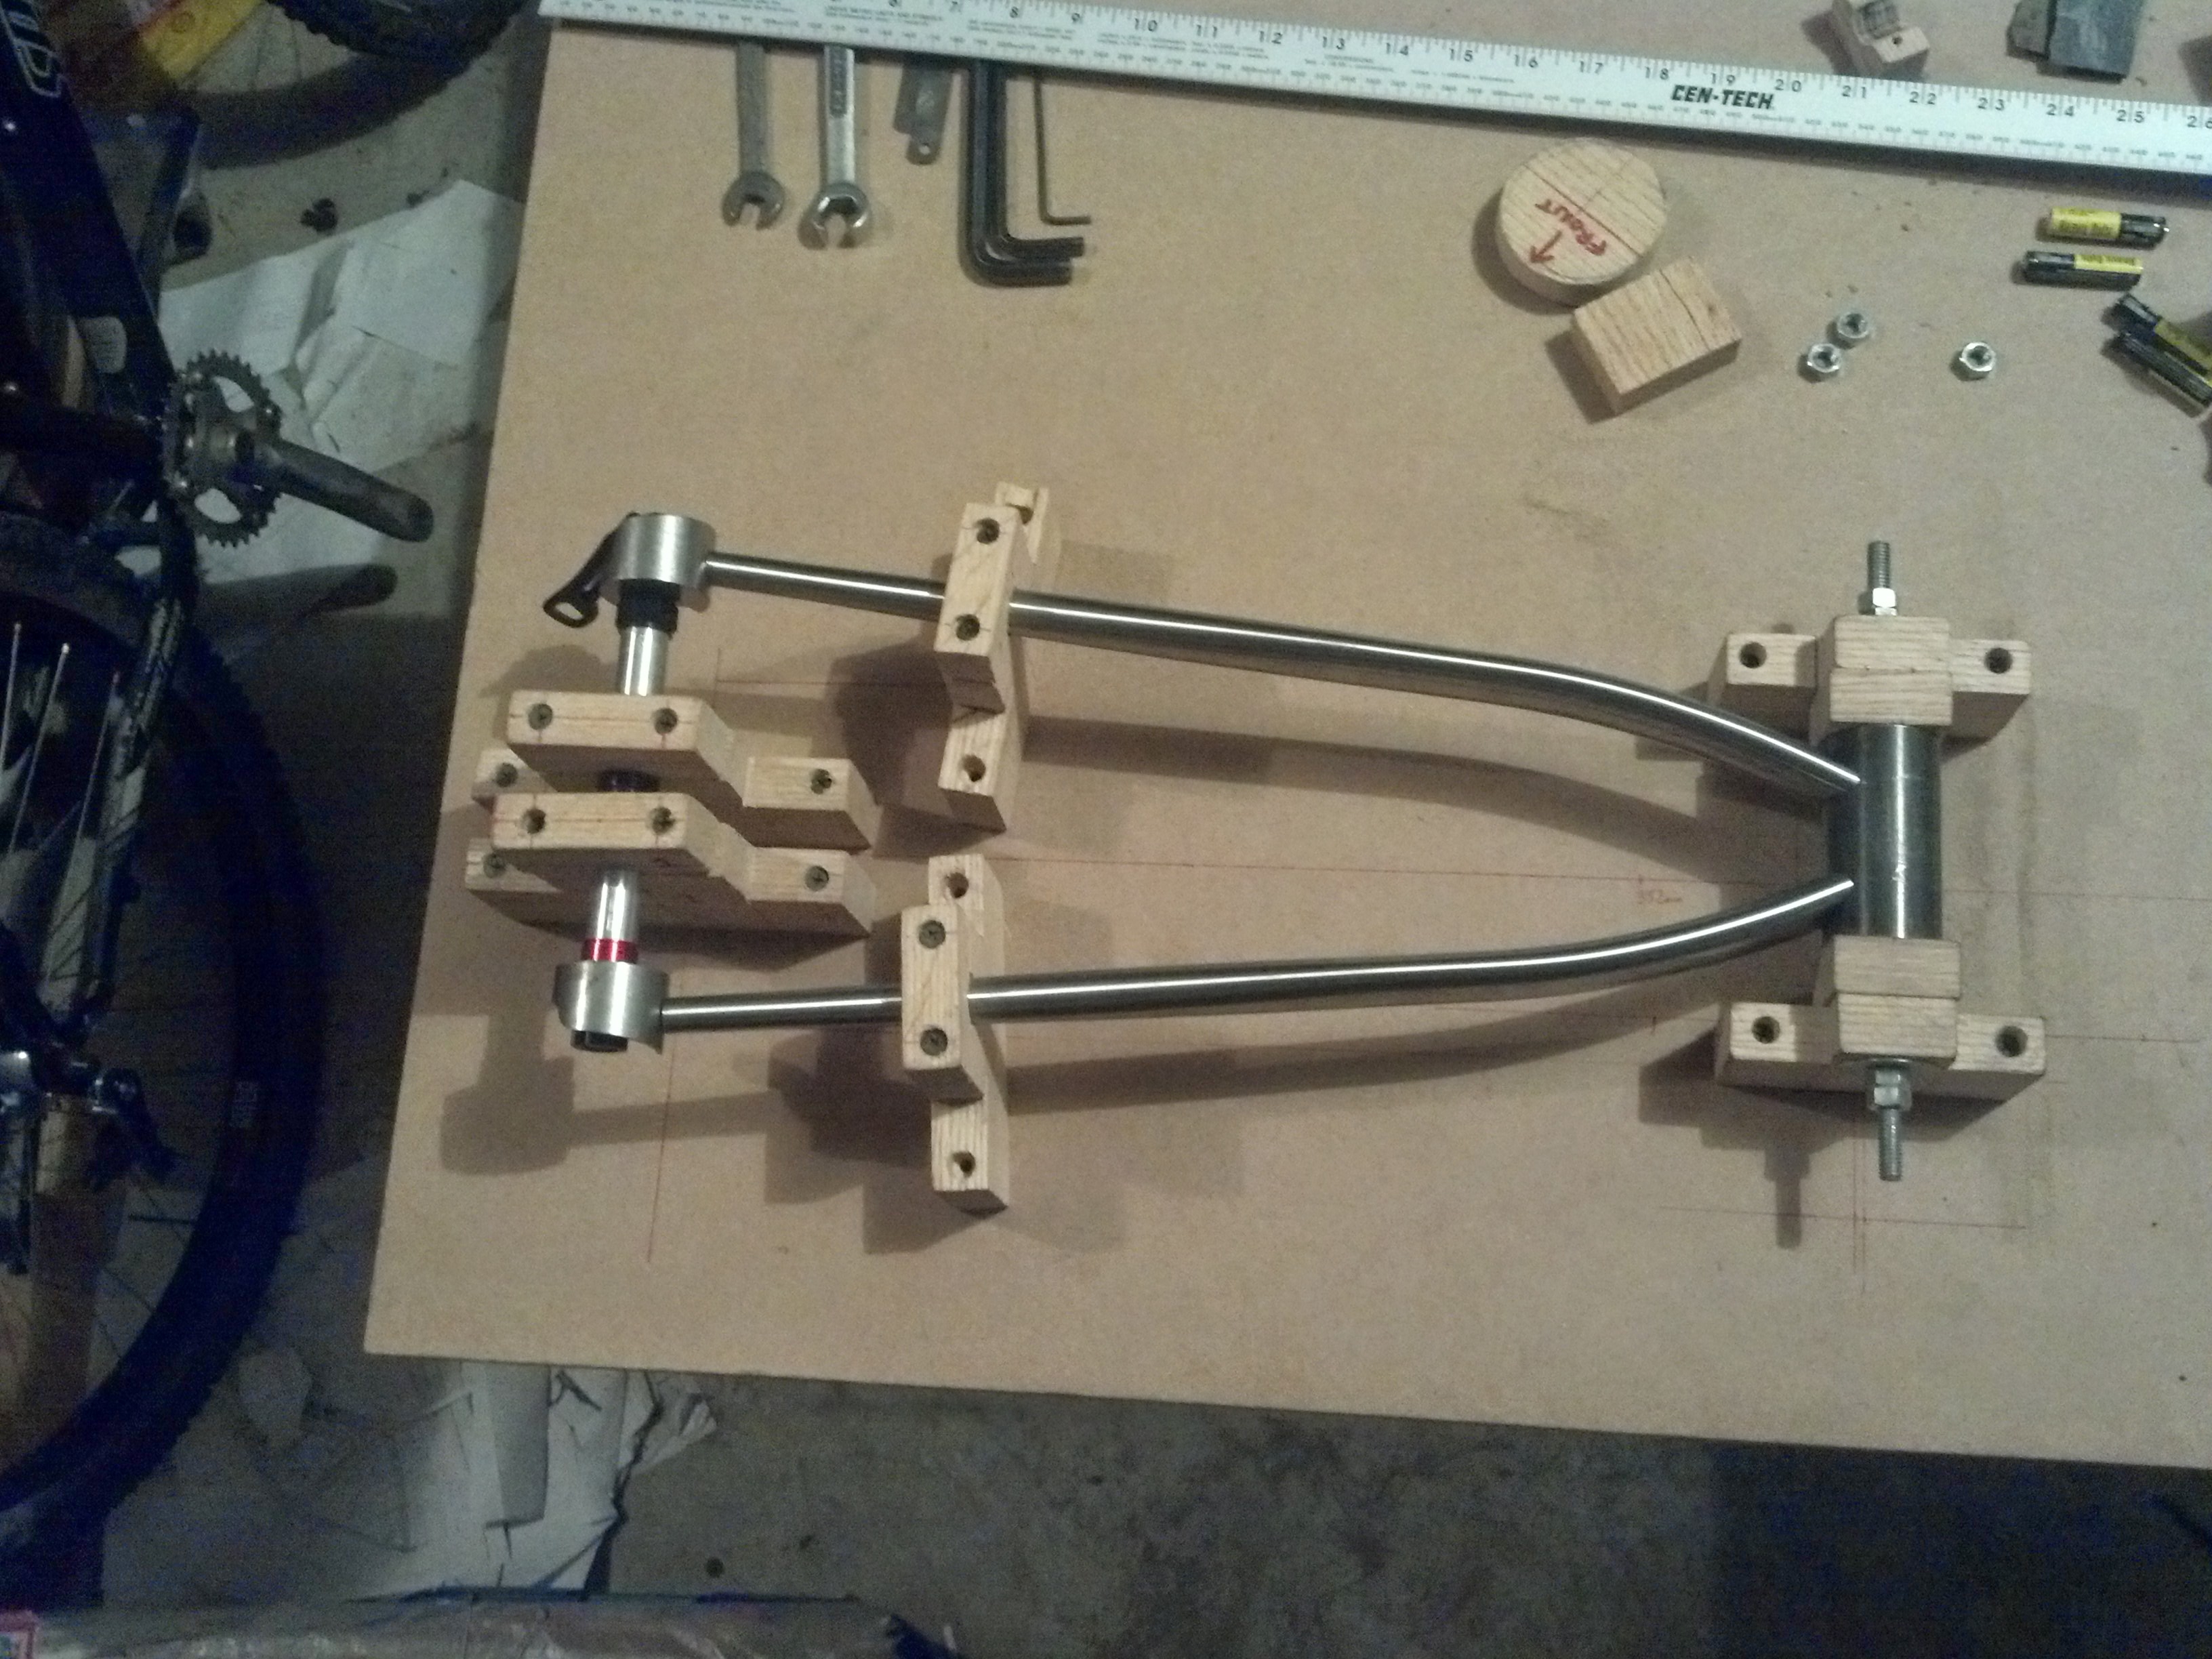
The seatstays are S-bend tubes that measure 1/2″ at the dropout (for symmetry with the chainstays) and taper up to 3/4″ at the seat tube junction. I built a similar jig for these and opted to leave the tube ends largely un-mitered so that I can properly fit them to the dropouts and front triangle.
I did have to cut the seatstays at the seat tube junction. The seat tube only has a 34.9mm outer diameter while the adjacent seatstays (at 19mm each) measure 38mm. Since they cannot exceed the width of the tube they are joining, they must be trimmed down until they measure 35mm.
By now the frame is almost entirely complete. The next step is to fully weld the front triangle, then each of the rear triangle assemblies. Then I’ll be able to construct my next jig, which will turn the front triangle upright so it sits on the same plane as the chainstays. This will also allow me to finalize the miter on the seatstays, and then the new jig heads back to the welder for completion and installation of all the finishing bits (ISCG tabs, cable guides, brake mount, etc.)
