A few weeks ago Google rolled out a post feature for its My Business Listings. Now you can create Facebook-like posts in the back end of the Google My business interface, that will display an image, description and website link in a box below your Google My Business listing’s knowledge graph. First I’ll show you how to create & optimize these, then I’ll discuss where I foresee them being most useful.
Creating Google My Business Posts
First log into your Google My Business platform and select the location you want to create a post for (if you have more than one). So far posts have to be manually created for each location, so it’s not easy to roll them out to hundreds of listings. The post you create will only show up for the listing you create it for.
Once you’ve selected your location, click on the “Posts” option on the left nav and you’ll see a box in which you can write a post. You’ll also see previous posts located underneath (this particular post is expired, I’m not sure how long they stay there for).

Once you click into the post editor, it’ll look like this. The interface is admittedly clunky.
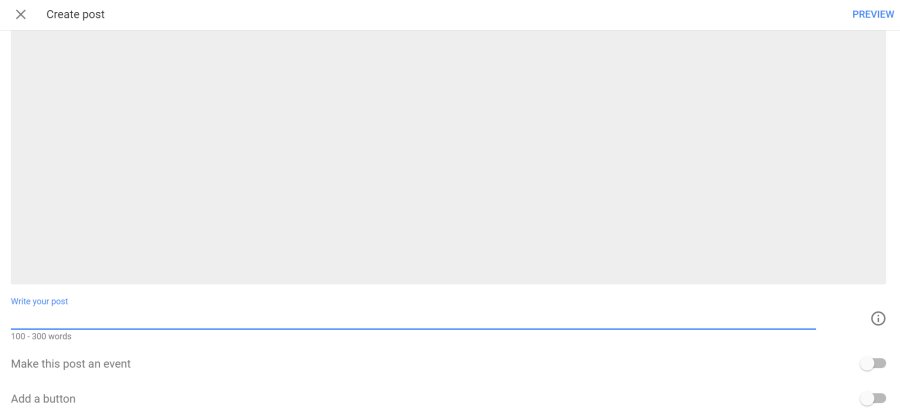
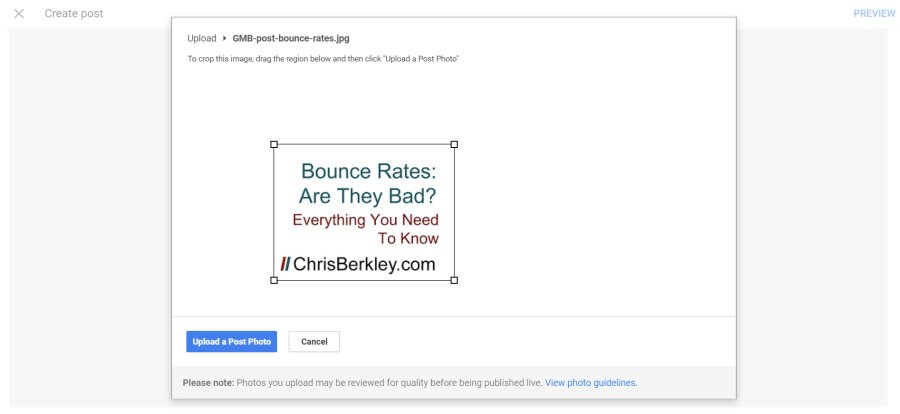
If you click on that big gray box, it’ll let you upload a photo and prompt you to crop it into a rectangular shape. (You would think the Photo Guidelines linked at the bottom would provide criteria for sizing, aspect ratio, etc. It does not.) Ideally your image should be engaging and grab attention. You may opt to include text in the image – this reminds me a lot of a Google AdWords Display ad, which may hint at the future of this functionality.
Then you can add a description – you have between 100-300 words.
There are really two types of posts – events and non-events. Non-event posts last a week, while event posts will prompt you to enter start/end dates and will stay up for the entire duration of the event.
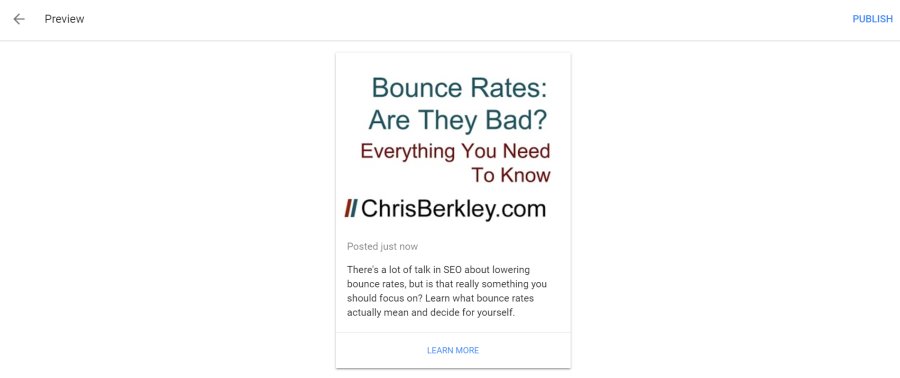
You can also add one of several preset call-to-action buttons for people to click on (I’ve chosen ‘Learn More’) and add a URL. I highly recommend tagging this URL, just like you should tag the landing page URLs in your GMB listings. Otherwise, it’ll come through as organic, but you may not know whether it was from a normal SERP or the post itself.
You can use Google’s URL builder – be sure to tag the medium as organic (these URLs should only be accessible from an organic search). The source is up to you, but I’ve been using g-local-post as my source (to differentiate from g-local as my source in the listing URLs themselves).

Then you can preview your post and if it looks good, publish it.
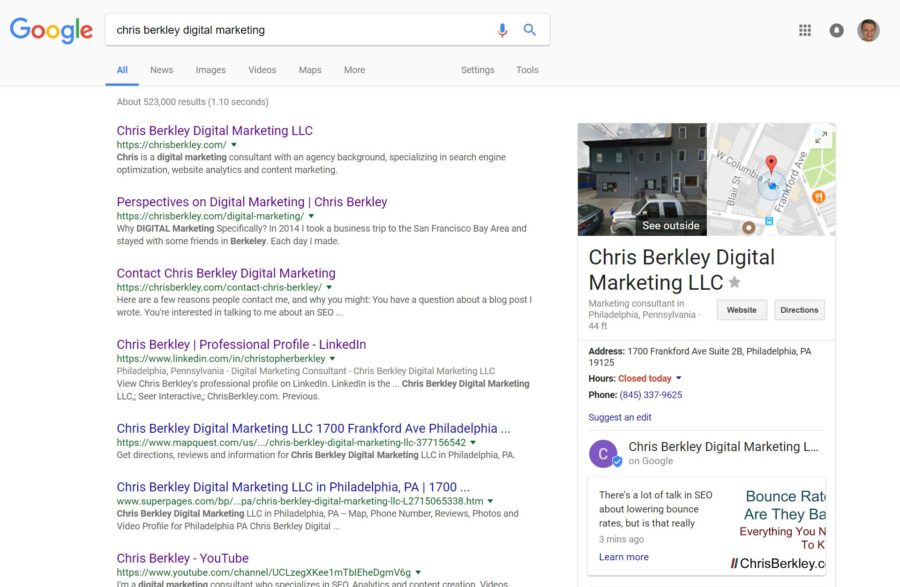
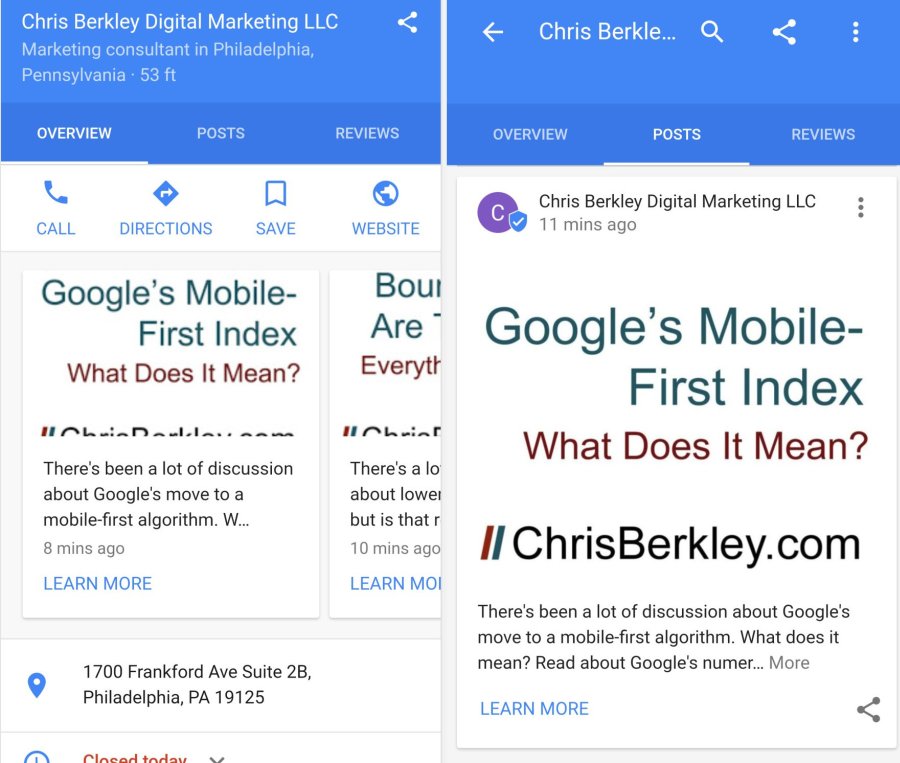
Now you’ll see your post as a small box at the bottom of your branded knowledge graph. Despite the fact that I’ve done everything Google requested, the image is cut off and the description cut short. Hopefully this product evolves a bit and remedies some of those issues.
You might think “I wonder if they look better on mobile?” – the answer is no (see below). If there’s more than one post, you do see a carousel (whereas desktop only displays one post at a time). On mobile, Google does allow you to click on a tab and see the posts by themselves, but who’s realistically going to do that?
Takeaways
The GMB Post format and interface is clunky. The images almost never show up as intended, making them ineffective. Their usefulness is also limited by where they appear. The only time these posts will show up is in a knowledge graph, which typically indicates a branded search took place.
The chance they’d show up for a non-branded search is very limited, so they’re not much use to drive new organic traffic. If anything, they may steal traffic away from the GMB listings themselves, so be aware of that.
While my examples used blog posts, this is probably poor usage. These types of posts would be much better suited to location-specific events that someone searching for a particular location would want to know about.
It’s sort of like free display ads – I wouldn’t be surprised if Google eventually monetizes this with advertising, the way they added and monetized the local map pack with ads.
Questions? Comments? Tweet at me (@BerkleyBikes) or drop a comment here!