Two weeks ago I outlined my design plans for a 650b steel all mountain hardtail frame. Since then an enormous amount of work has transpired in my quest to build my own frame and then ride it on trails that I built.
Homemade Frame Jig
Jigging is perhaps the main obstacle that separates backyard builders from professional frame builders (aside from knowledge and experience of course). I designed my own frame jig based on a lot of reading and a little design creativity on my end. I aimed for the easiest and most accurate frame jig that worked within my parameters as far as tools and budget.
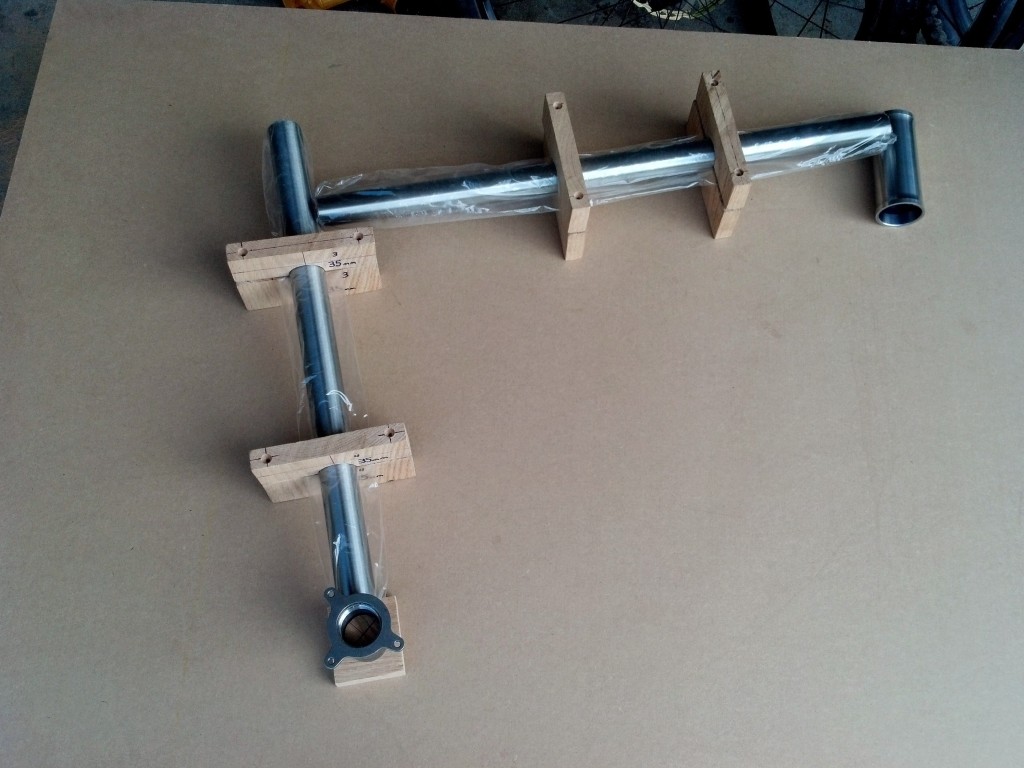
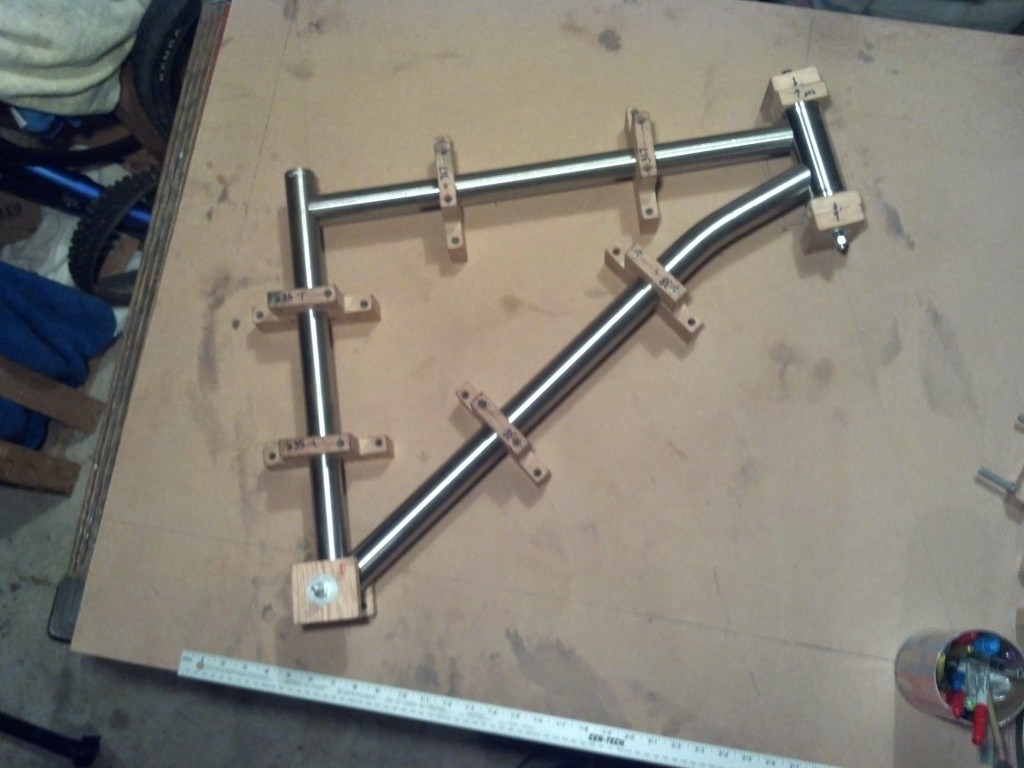
My plan is to finish the front triangle on its side and then flip it vertically to complete the rear triangle. I started with a 3/4″ thick medium density fiberboard (MDF) base on which to mount everything. Why MDF you might ask? It’s an inexpensive surface that proves to be incredibly even (read: flat) and still allows me to drill into it with relative ease. A 4′ x 8′ sheet ran less than $40 and should prove to be enough surface area to complete the entire project.
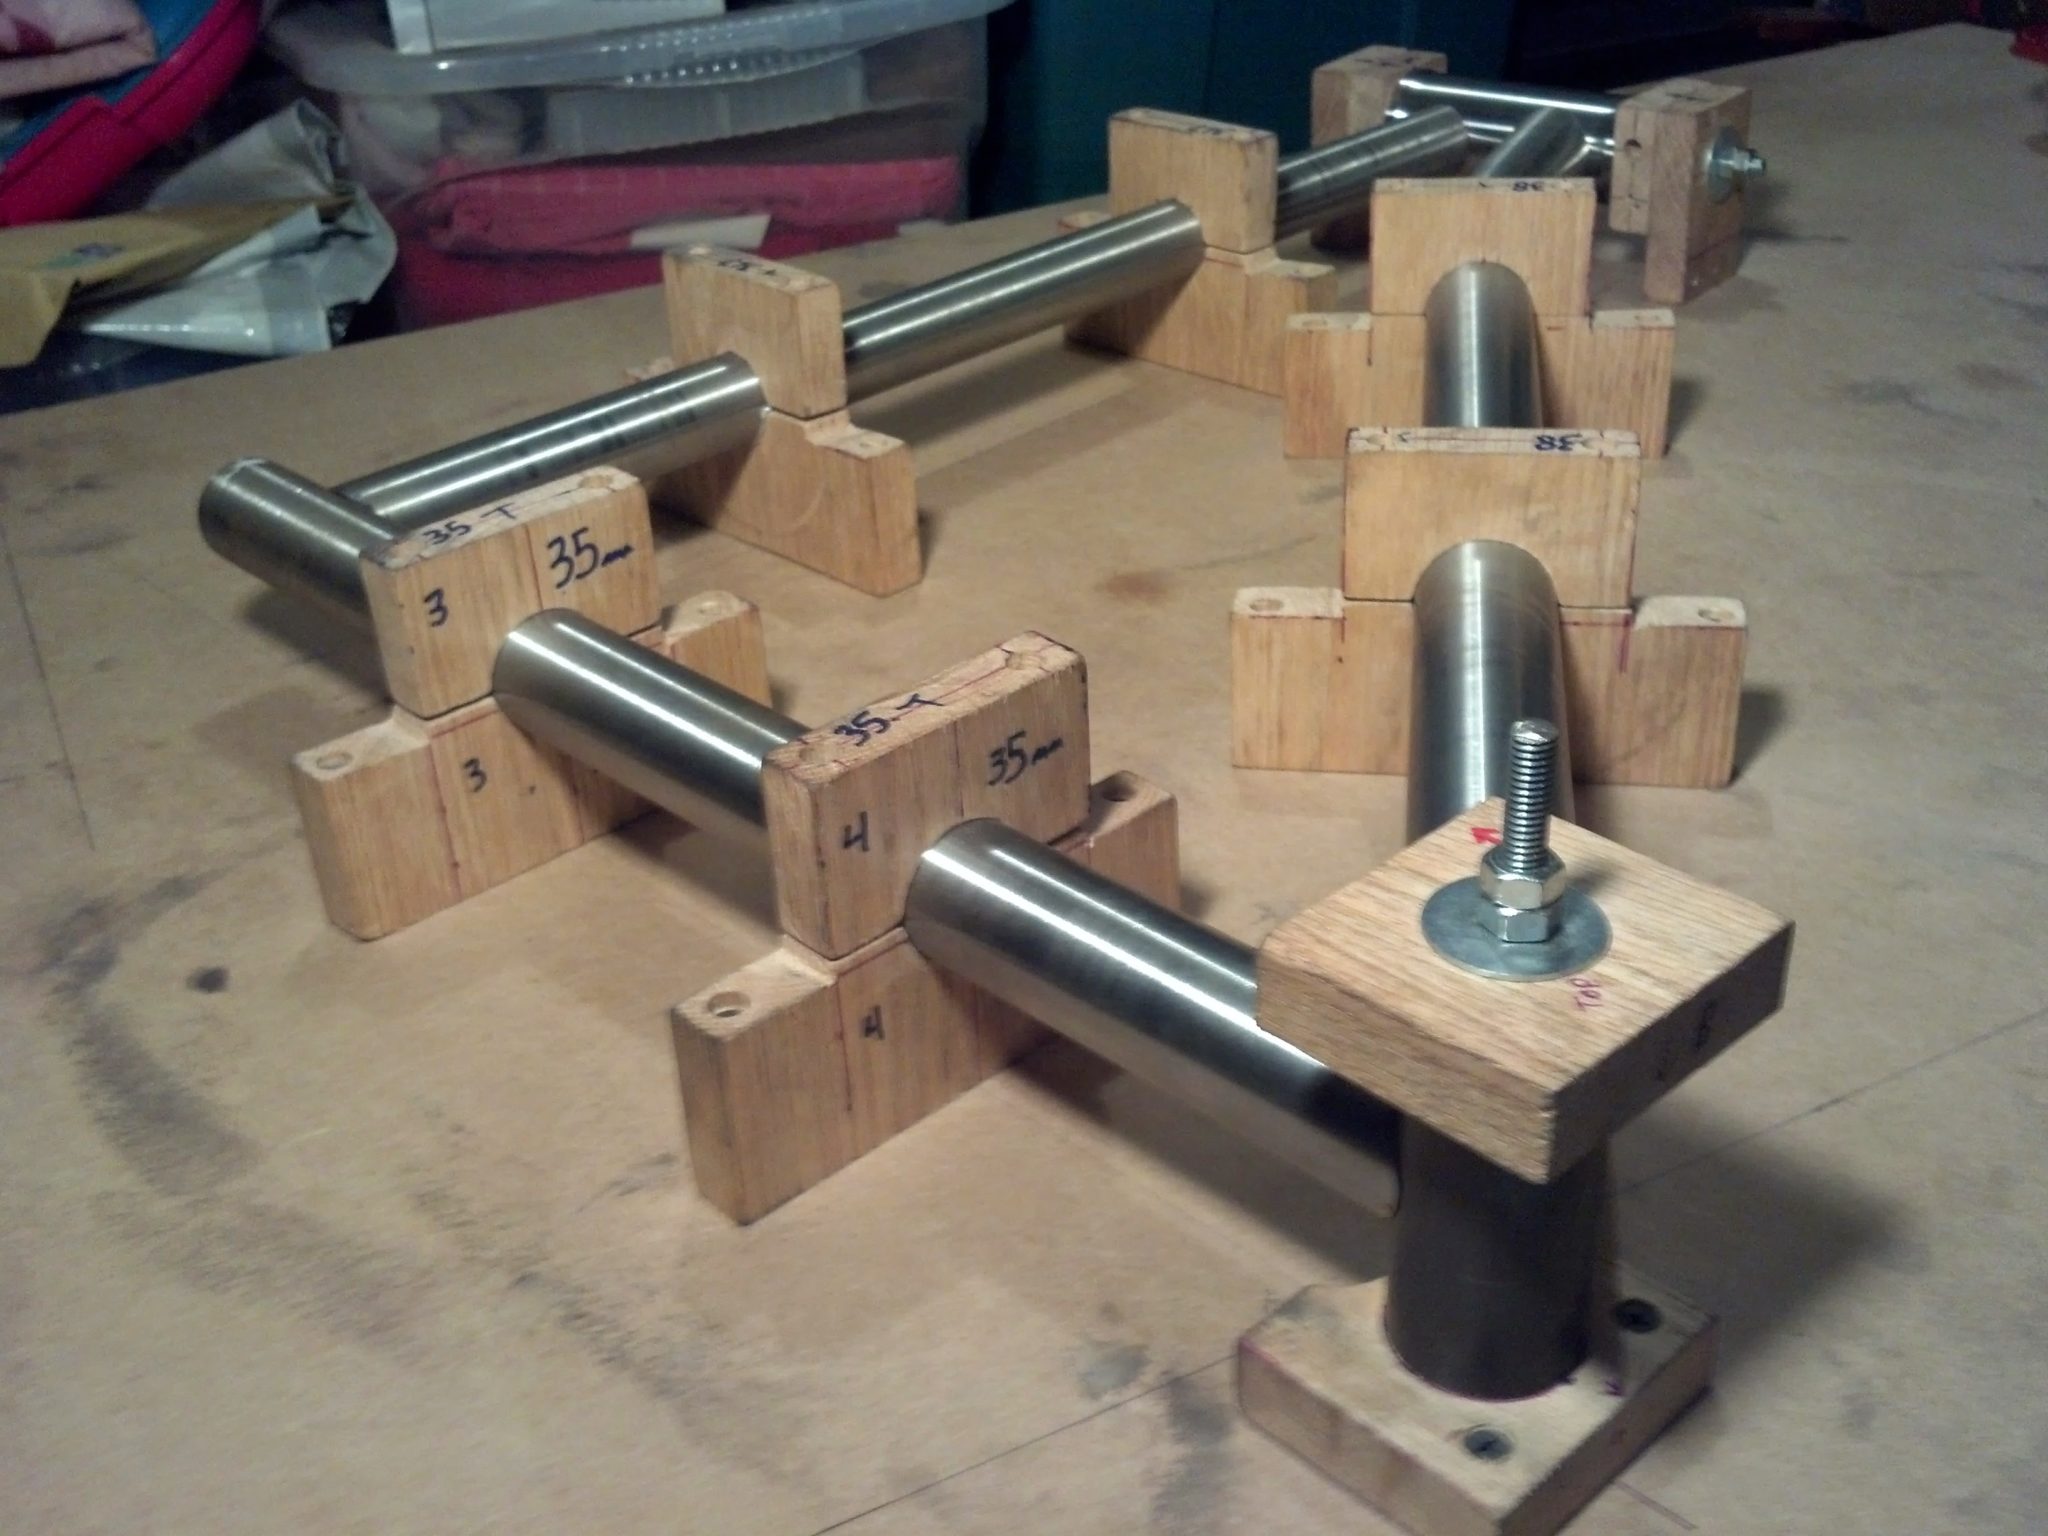
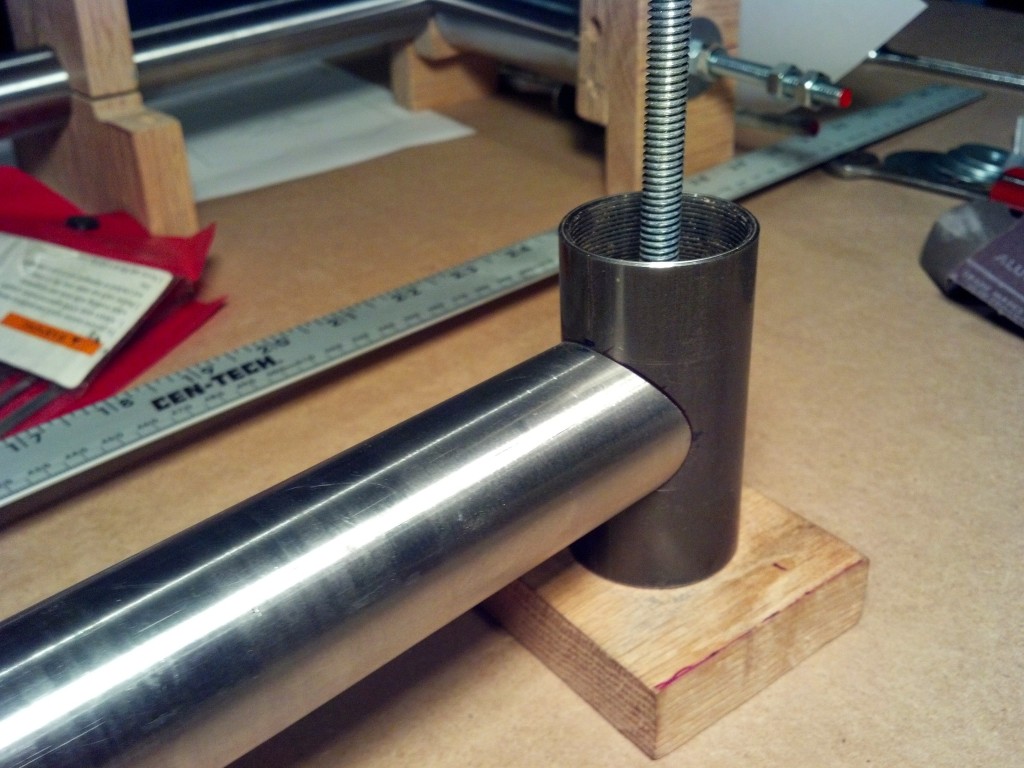
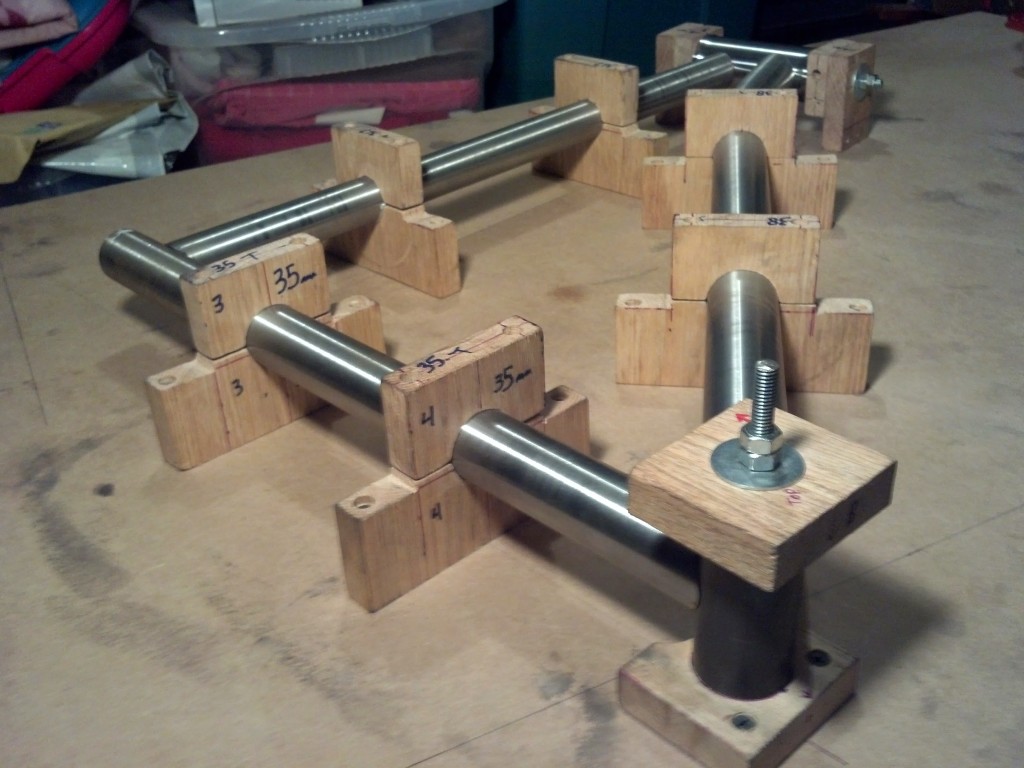
To hold the frame tubes I bought 3/4″ thick oak boards and cut tube blocks, which are basically two pieces of wood bolted together with a hole in the middle. For this I used hole saws of varying sizes (to match the outer diameter of the frame tubes) and a DeWalt circular saw that I bought off Craigslist a few years ago. I used a DeWalt portable drill for the hole saw bits (which prefer a lower speed) as well as Dad’s workbench-mounted Central Machinery drill press (which spins higher RPM).
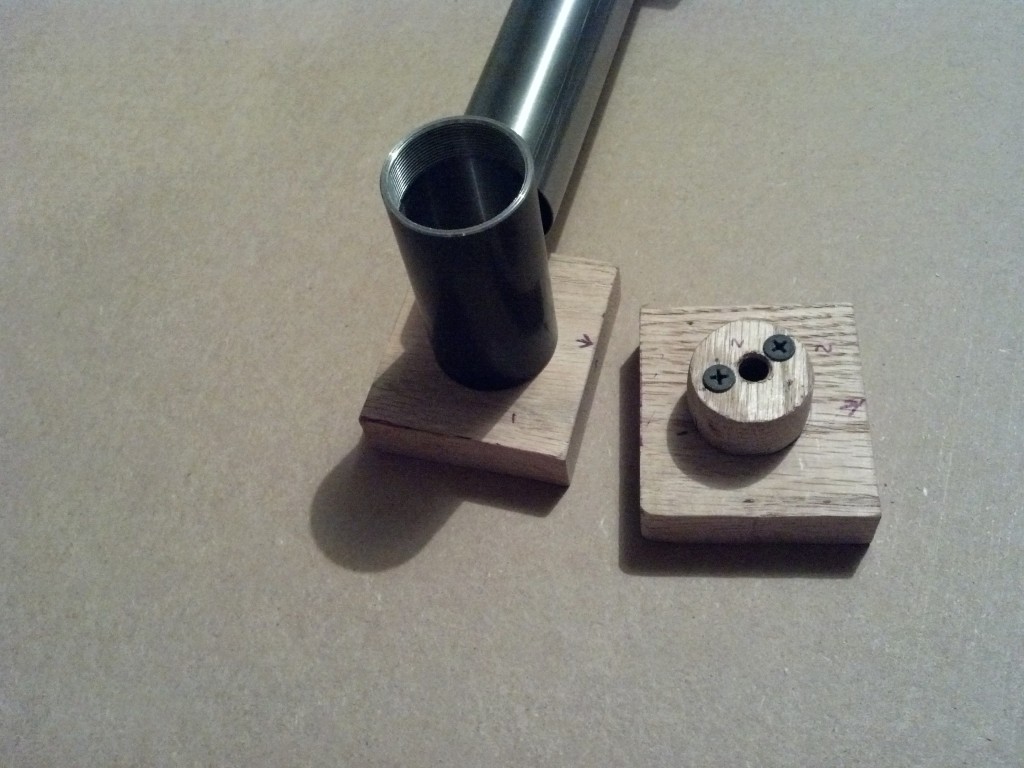
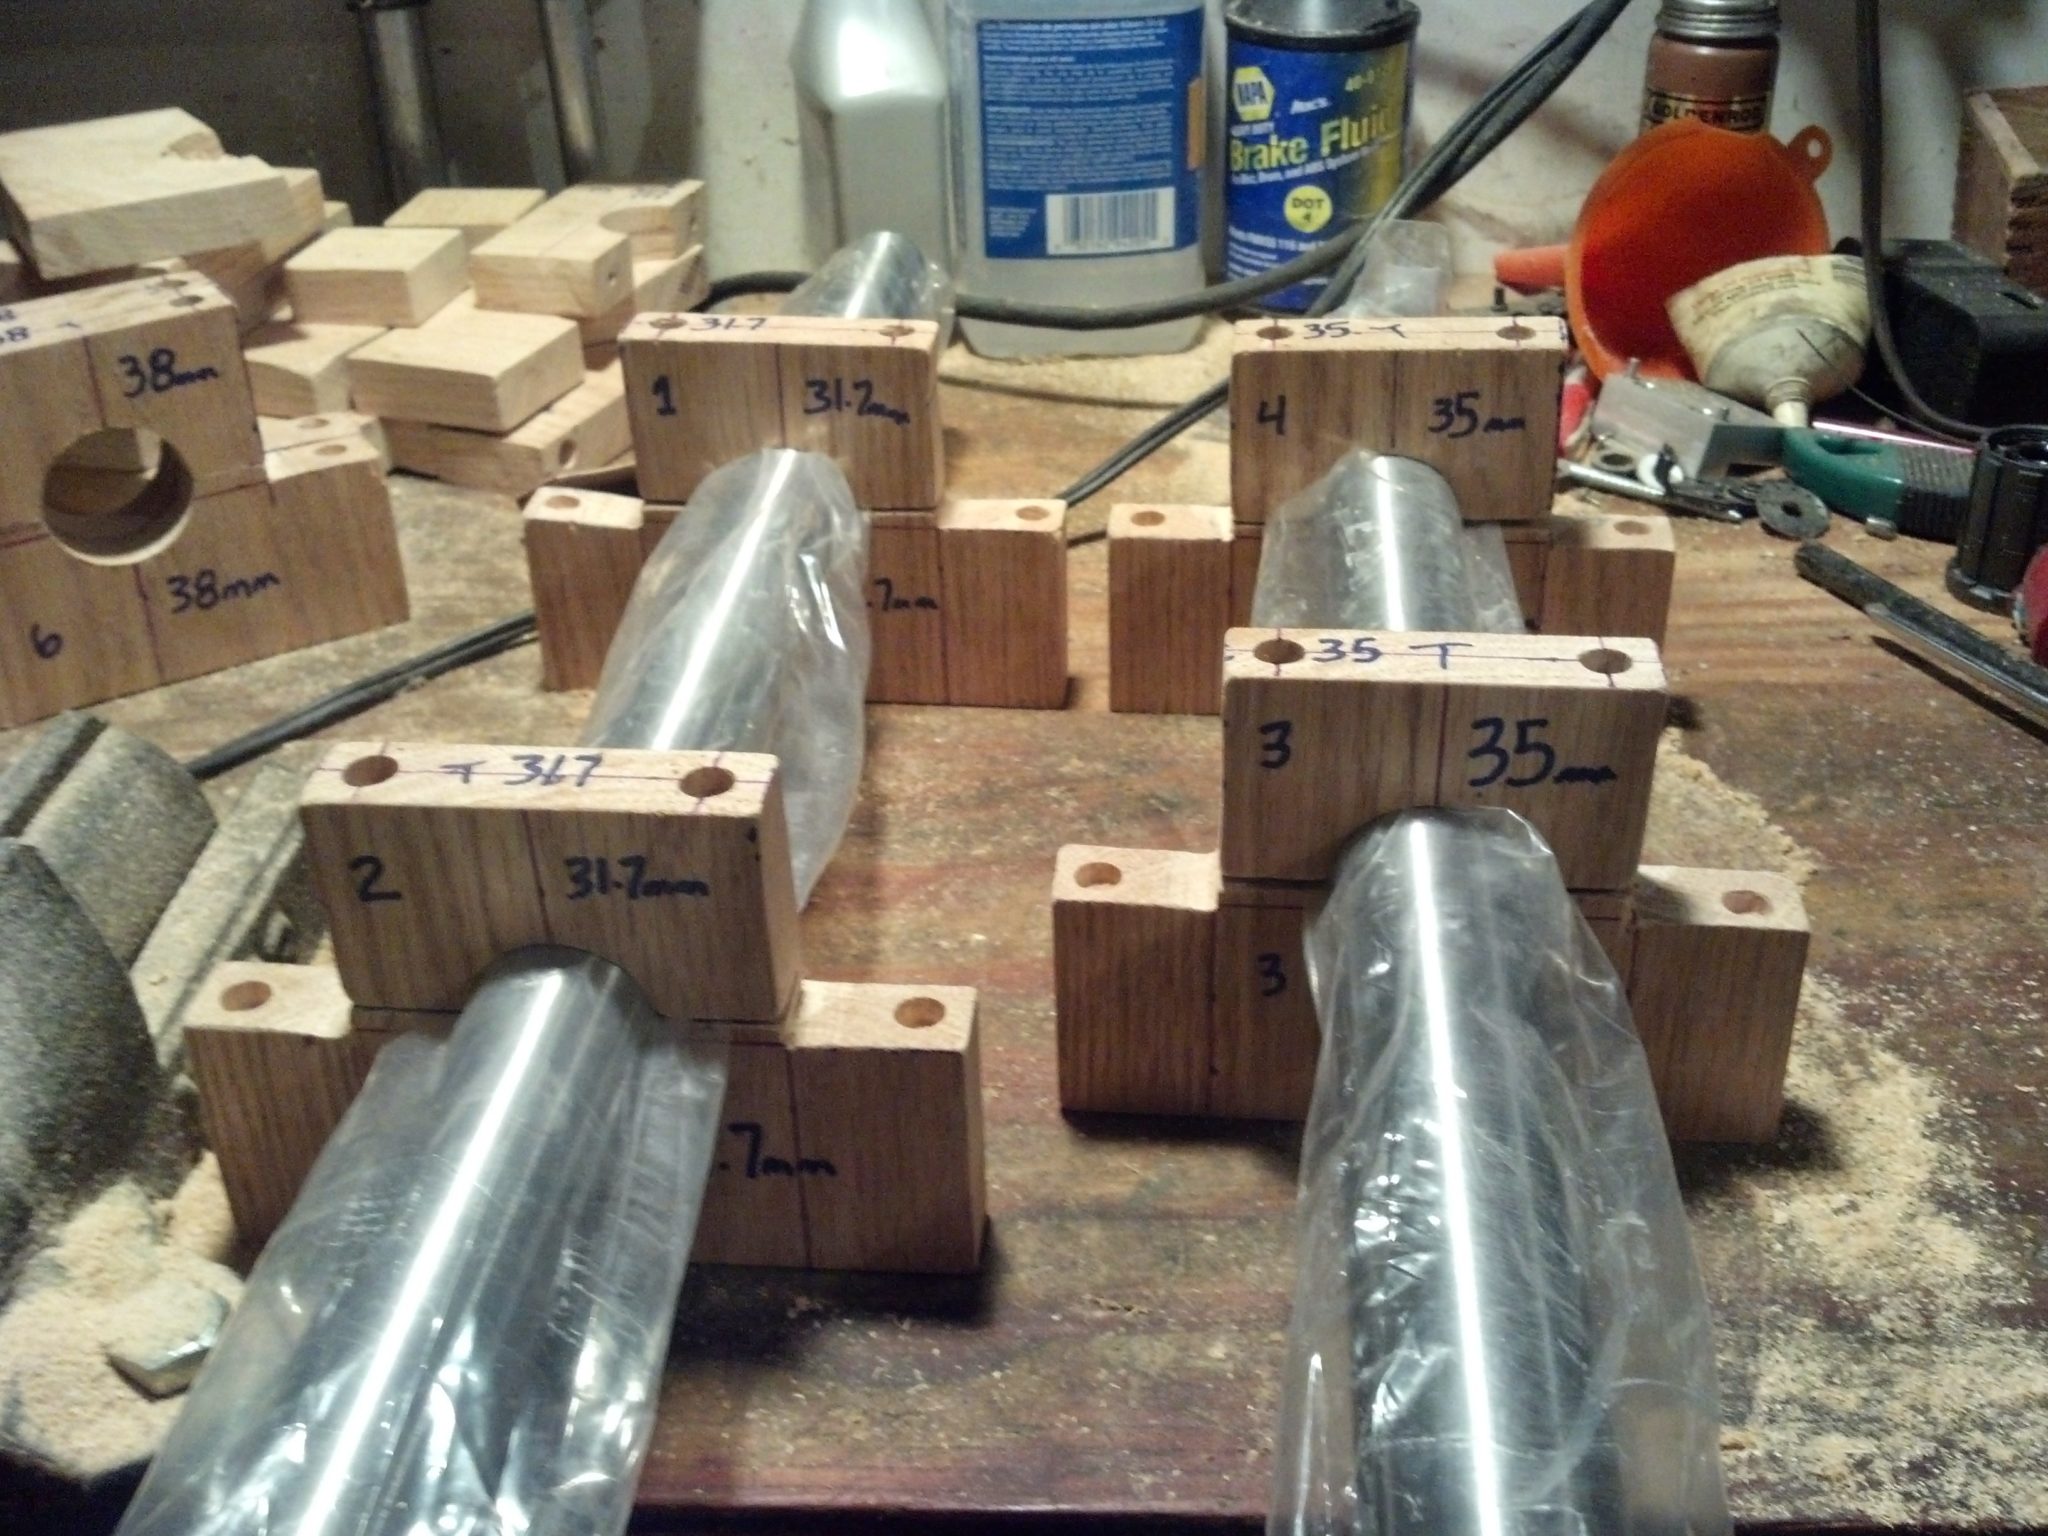
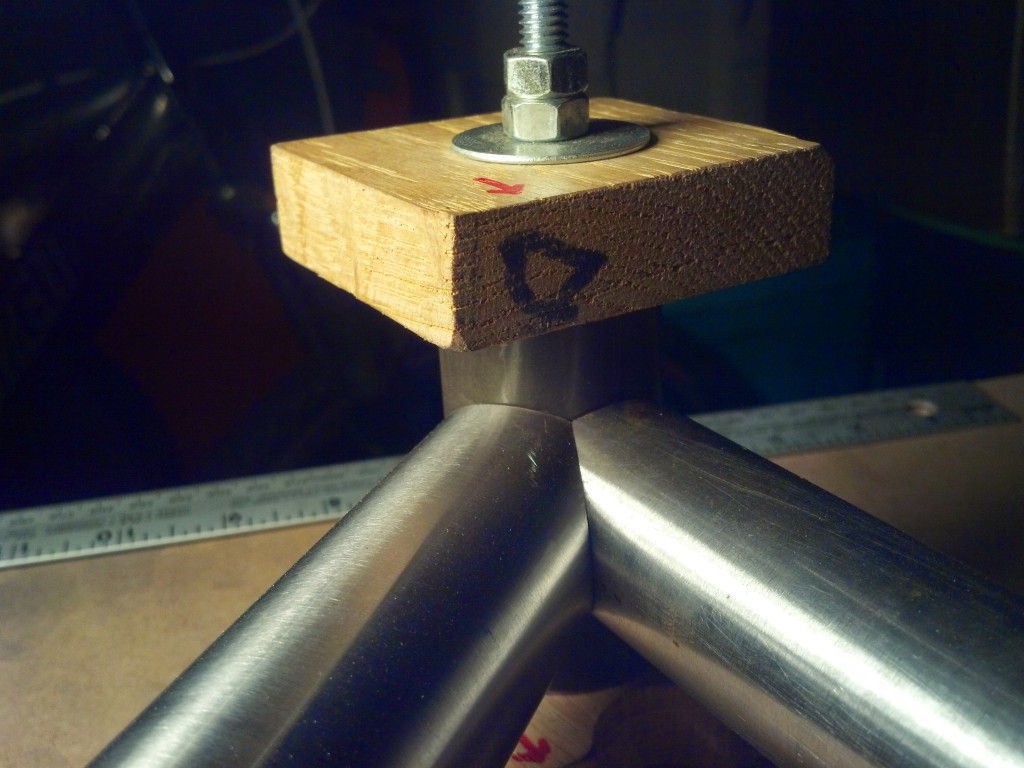
The tube blocks took some trial and error. Sometimes a design looks good on paper until you go to use it and it proves to be utter rubbish from a practical standpoint. My v1 tube blocks (pictured in first photo) embodied that sentiment, so I scrapped them and made new ones. For the bottom bracket shell and head tube I explored the possibility of having metal spacers made, similar to the cones on professional frame jigs, but that proved to be too costly. Consequently, I made those out of wood by rather crudely penciling circles onto an oak board and filing them until they’re as close to round as possible. I drilled a 5/16″ hole through the center and used threaded rod to hold everything together. Since the bottom bracket shell sits perpendicular to the other frame tubes, I countersunk the nuts on the backside so it sits flush.
Tube selection
I went back and forth on tubing choices many times and ultimately decided on a rather burly tubeset. It might be overkill, but since I have no warranty, I’ll take the weight penalty over a cracked frame. It’s worth noting that almost every tube is considerably beefier than my current bike, to support the longer fork and create a stiffer package overall. I’ve selected a 31.7mm top tube, 35mm seat tube, and 38mm pre-bent down tube. Most of the tubing is American-made True Temper from Henry James, except for the down tube which is from Nova Cycles. I’ve received a lot of inquiries about the use of the bent down tube – the answer is that 1) it looks cool and 2) it guarantees clearance for the fork knobs. I’ll discuss the rear triangle at a later date when the front triangle has been completed.
Tube Mitering
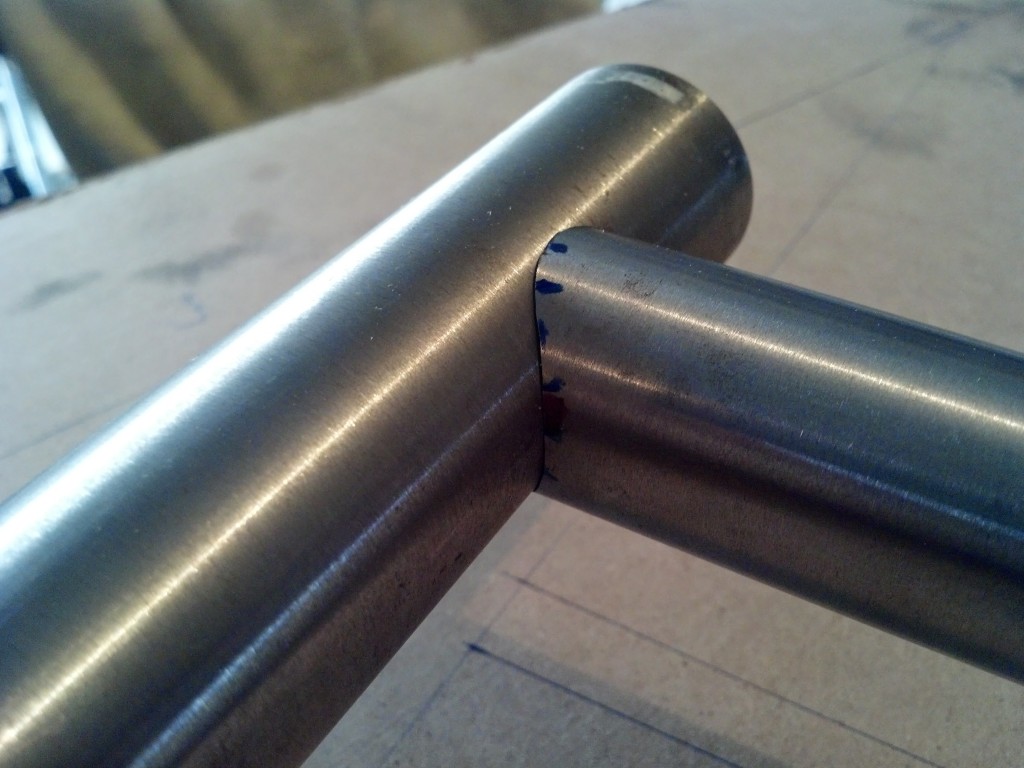
The mitered seat tube-bottom bracket joint.
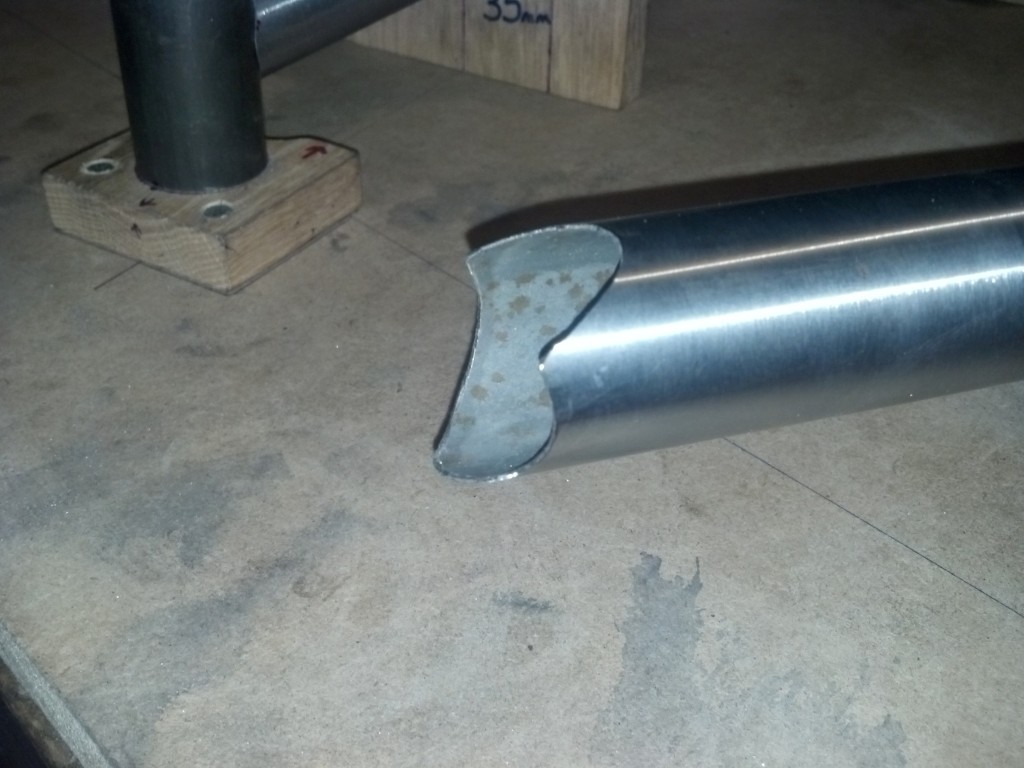
I could write pages about the mitering process by itself, but I’ll keep it short and sweet. I’m hand mitering everything, with the use of hacksaws, dremel bits, files and emery paper. It’s not as difficult as it sounds – I’ve utilized a very simple but highly effective (and free) program called TubeMiter.exe to print miter profiles and Sharpie them onto the tube. Then I use a hacksaw and Dremel to trim the tube down to profile and finish it by filing and sanding. I have a set of feeler gauges that I use to check miter gap – these are extremely helpful and have made for some very accurate miters. The down tube/seat tube/bottom bracket compound miter was the trickiest, but less difficult than I had suspected. It was only complicated by the bent down tube.

Awesome thanks for sharing what you learned.. I might be stealing these ideas one day.
Thank you for writing this awesome article. I’m a long time reader but I’ve never been compelled to leave a comment.
I subscribed to your blog and shared this on my Facebook. Thanks
again for a great article!