If you’ve read my instructions on how to verify Google Search Console, you may be wondering how to do the same for Bing Webmaster Tools. Or maybe you aren’t, because you never really thought much about Bing Webmaster Tools, in which case: read on.
While you may not pay much attention to Bing as a search engine, you’re doing yourself a disservice if you don’t set up and verify Bing Webmaster Tools. Just last year, Bing Webmaster Tools helped me troubleshoot an indexation issue with an enterprise-level education client – an issue that could have cost them thousands of lost site visits had we not used Webmaster Tools to identify it so quickly.
Bing Webmaster Tools offers almost all the same functionality as Google Search Console and while you may not use it nearly as much (or at all) it should be included in your standard setup process.
Creating a Webmaster Tools Account
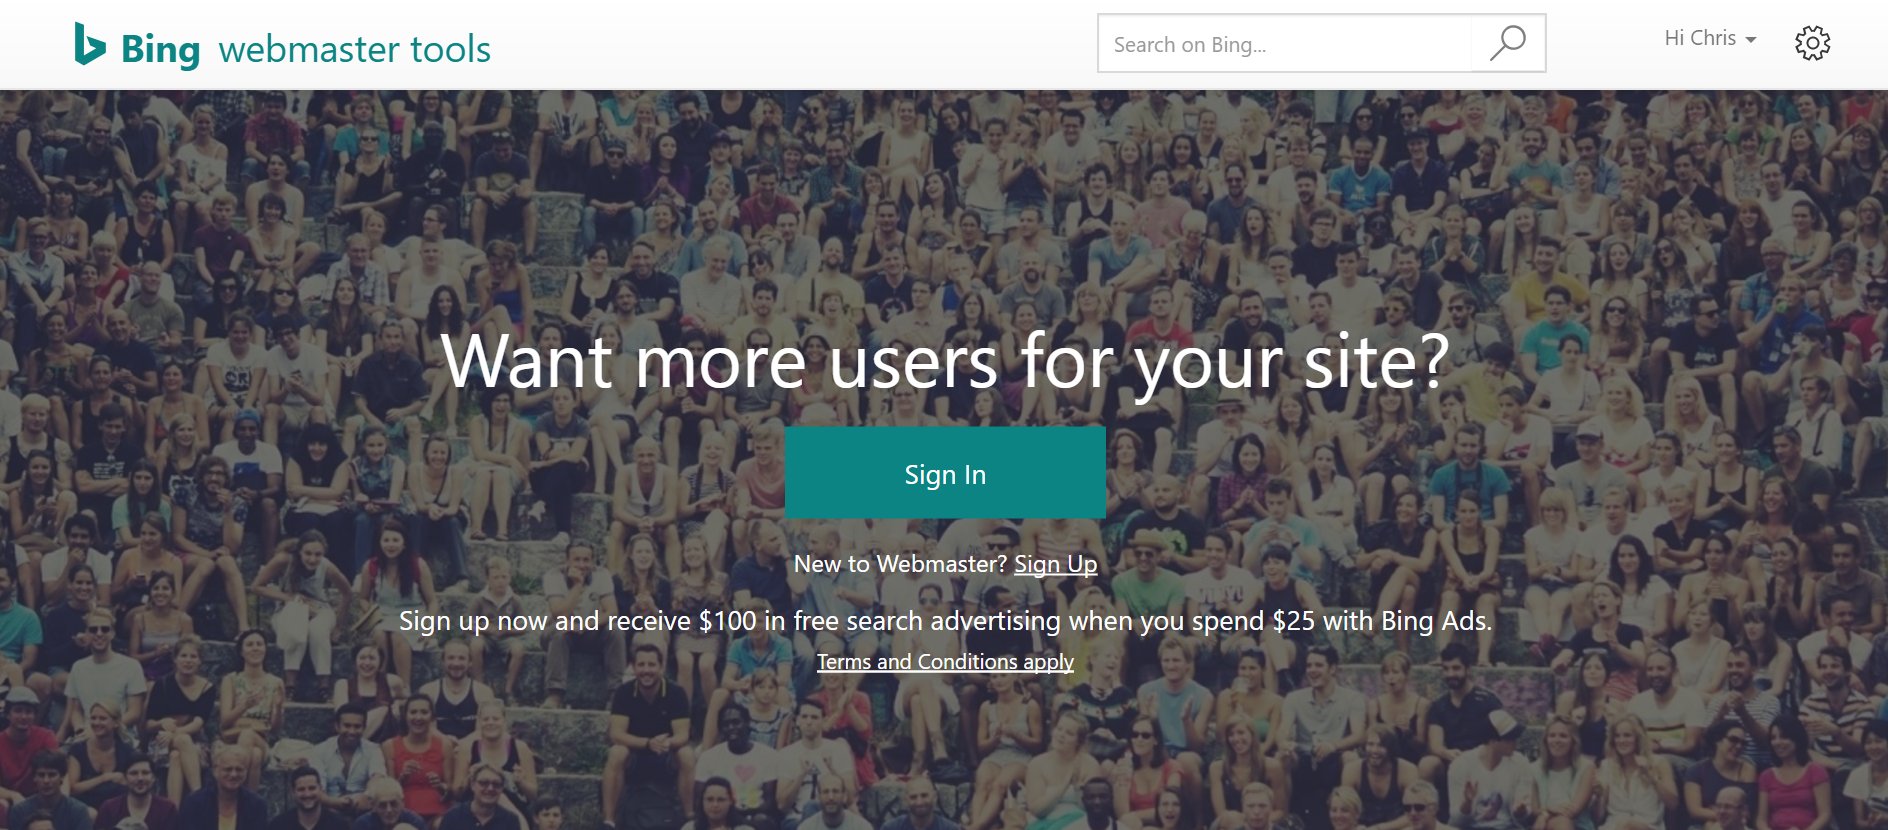
First you’ll need to create a Webmaster Tools account, assuming you don’t have one already. Go to https://www.bing.com/toolbox/webmaster and click “Sign Up”
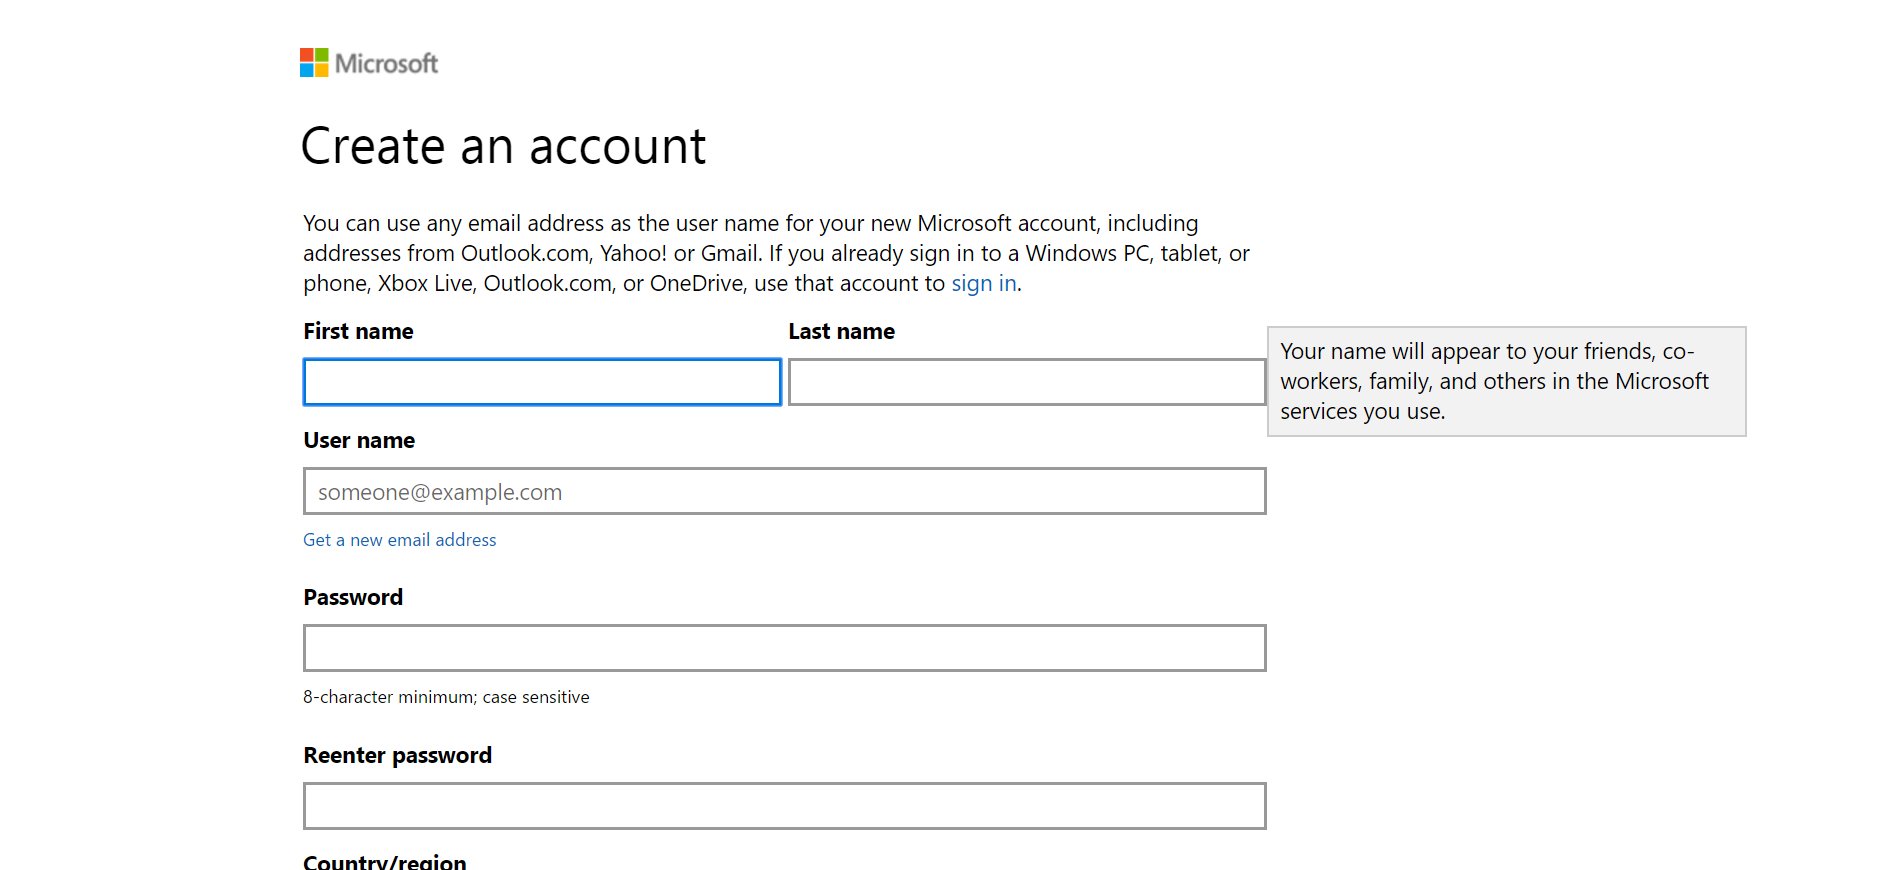
You’ll be prompted to fill in the necessary info, before clicking “Create Account”
Once you’ve created an account, you’ll see a screen that looks like this. Add the URL of your site and click “Add.”
Adding an XML Sitemap
Next Bing will ask you to add a sitemap. You should do this, so find your XML sitemap and paste that URL into the Sitemap box.
Verifying the Profile
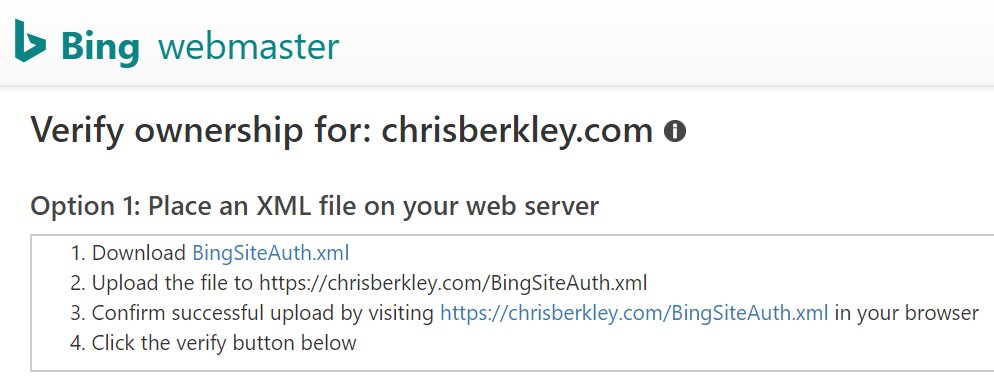
There are three ways to verify the profile:
XML File
Download the Bing XML file and upload it to the domain’s root folder, effectively creating the URL YOURSITE.com/BingSiteAuth.xml. You’ll need to do this via FTP, so if you don’t have server access, this will be difficult or even impossible.
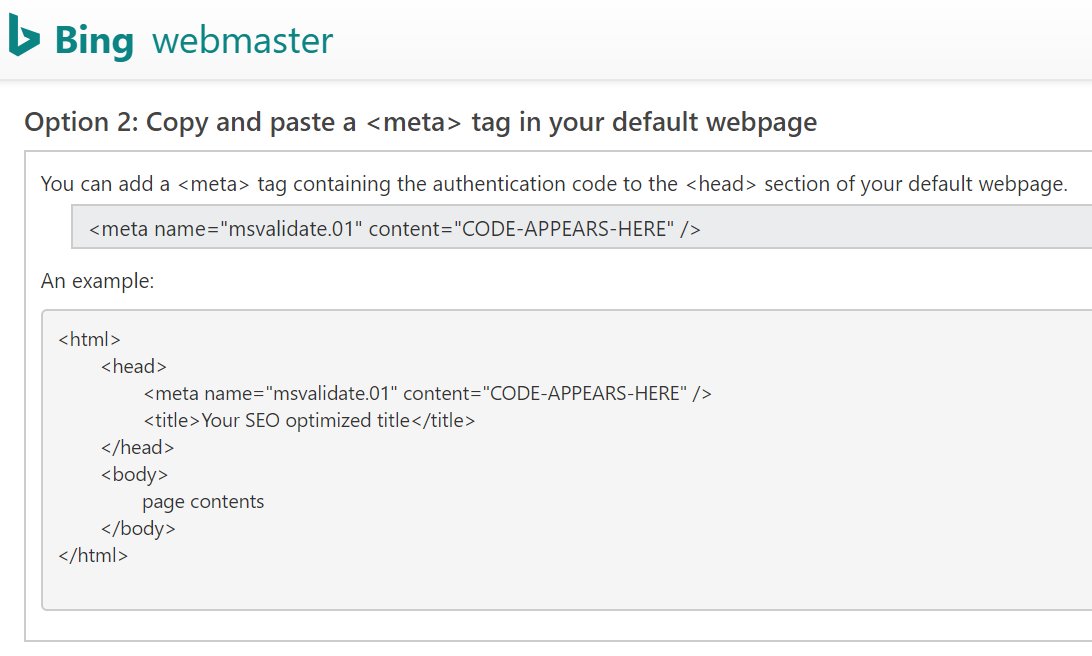
Meta Tag
The second option involves adding a meta tag to the homepage of your site. This is a simple line of HTML not unlike a meta description. If you’re using a CMS that offers a section for custom HTML, you can enter it there in order to push it live on the page.
Note: This meta tag needs to be left in place in order to Webmaster Tools to continue to be verified.
Hosting Provider: CNAME
The third listed option allows you to log into your hosting provider and add a CNAME record. This is likely the most sure-fire, permanent way to verify the profile but may also be the most difficult. If you can’t log into your hosting provider, this option is not helpful.
Bing Webmaster Tools Verification on WordPress
Bing WMT Verification on WordPress is painfully easy.
You should already have one of two SEO plugins installed: Either A) Yoast’s WordPress SEO plugin or B) All In One SEO Pack. Both are really freaking good plugins and you’re doing yourself a disservice if you don’t have one of them installed on your WordPress site.
Verifying Bing Webmaster Tools with Yoast’s WordPress SEO Plugin
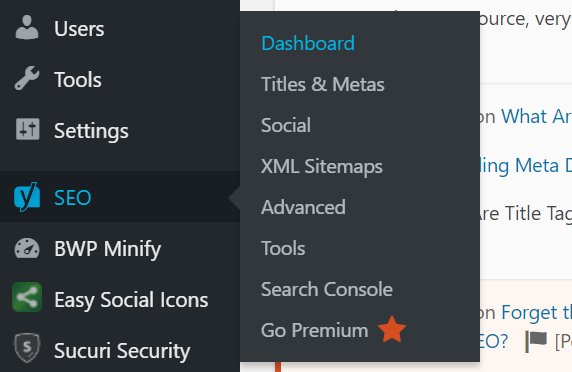
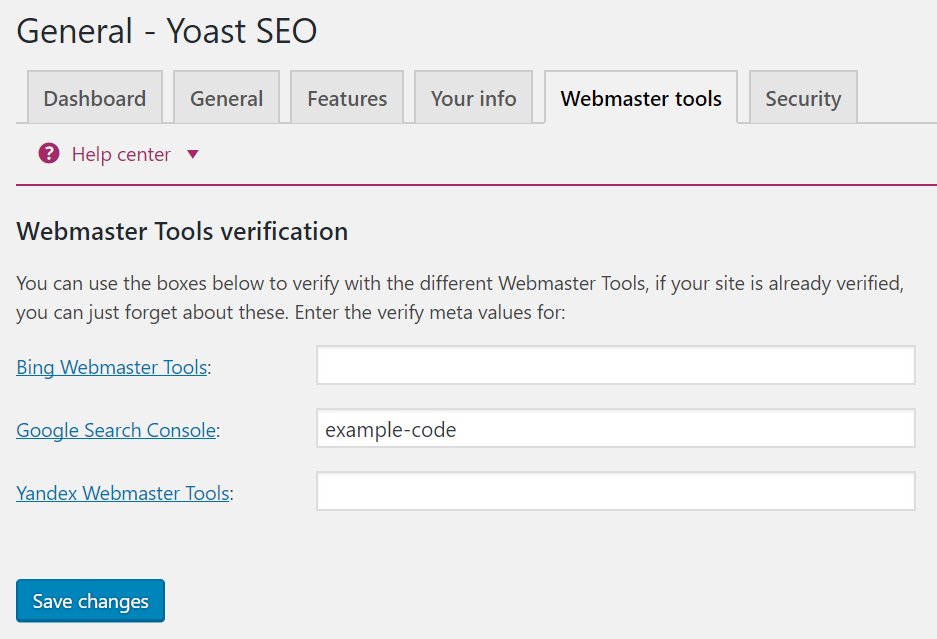
In the WordPress backend, go to SEO > Dashboard > Webmaster Tools. Yes there is also a Search Console menu item. No, that’s not where you actually verify Google Search Console OR Webmaster Tools.
Here you’ll see three different form fields. Go back and look at the HTML meta tag I mentioned earlier in this post, copy the value and enter it here. Once you’ve done that, click ‘Save Changes’ then go back into Webmaster Tools and click verify (using the HTML tag method).
Verifying Search Console with All In One SEO Pack
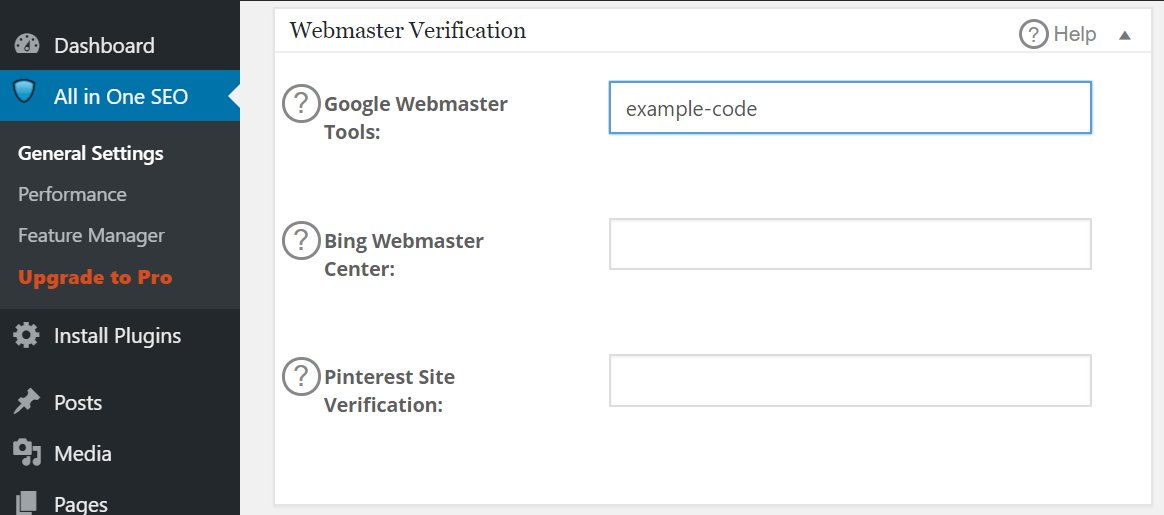
For those using All in One SEO Pack, the process is not much different. Go to All In One SEO > General Settings and scroll all the way down to the ‘Webmaster Verification’ section, where you will see the same two fields for Google and Bing Webmaster Tools.
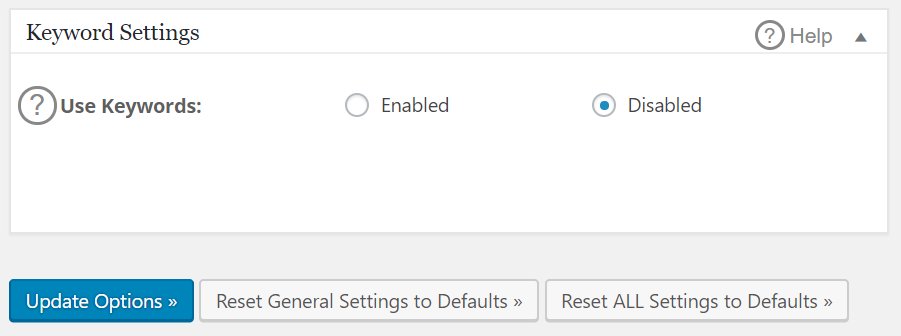
Once you’ve done this, KEEP SCROLLING DOWN. With so many features on one page, it’s easy to miss the ‘Update Options’ button, which is critical to make sure your settings get saved.
Verification Completion
Once you’ve completed one of these three methods, go back into Webmaster Tools and make sure you click the ‘Verify’ button. Then you’ll have access to all of the Webmaster data that Bing provides!

